Car Accident First Aid: What to Do for Severe Injuries
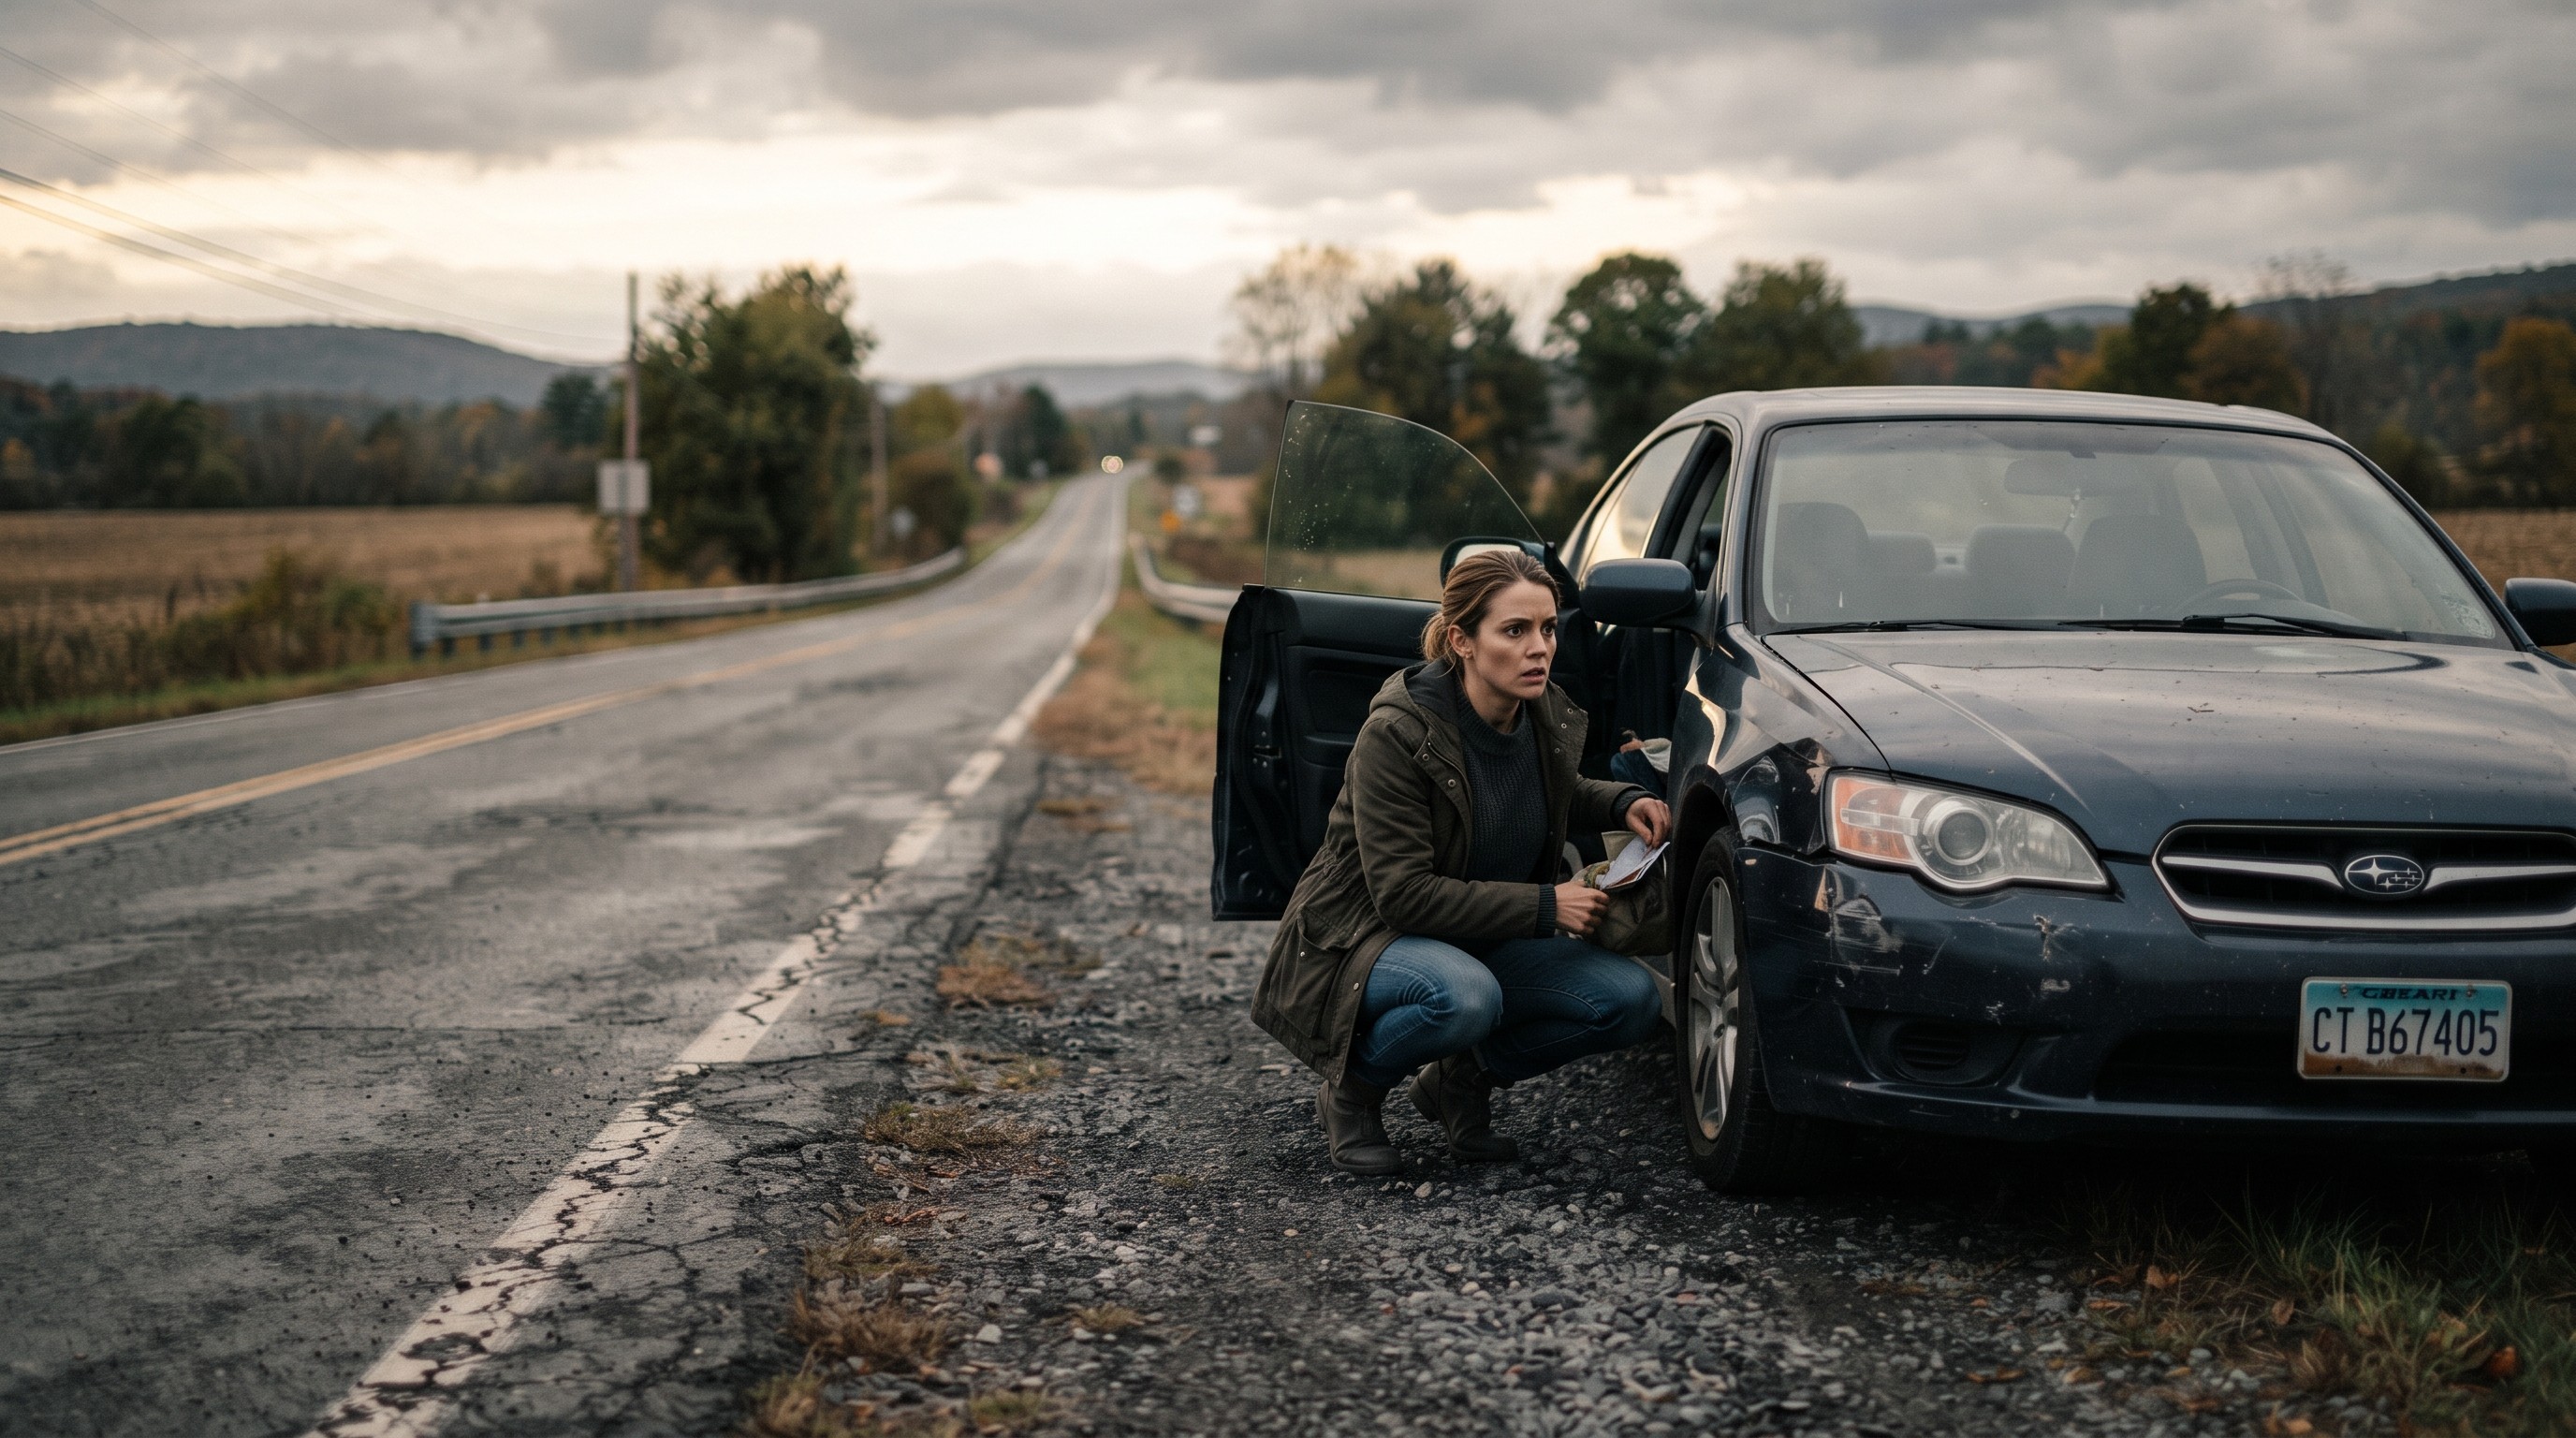
Most people at a crash scene feel helpless. They stand at the edge of the road, phone already called, watching and waiting. That feeling is understandable. But in the 8 to 12 minutes before an ambulance arrives, there are real things you can do that change outcomes. This post walks through exactly what to do, in order — from the moment you realize someone is badly hurt to the moment paramedics take over.
The First 60 Seconds Matter Most
The window right after a crash is not the time to panic or freeze. It's the time to move through a sequence.
In trauma medicine, there's a concept called the golden hour — the period after a serious injury when treatment is most likely to save a life. You are standing inside it. The steps below are ordered by what kills fastest: airway problems and severe bleeding claim lives before anything else does. Work the list in sequence. Don't jump ahead.
You don't need a medical background. You need to know what to do with your hands.
Step 1 — Make Sure It's Safe to Help
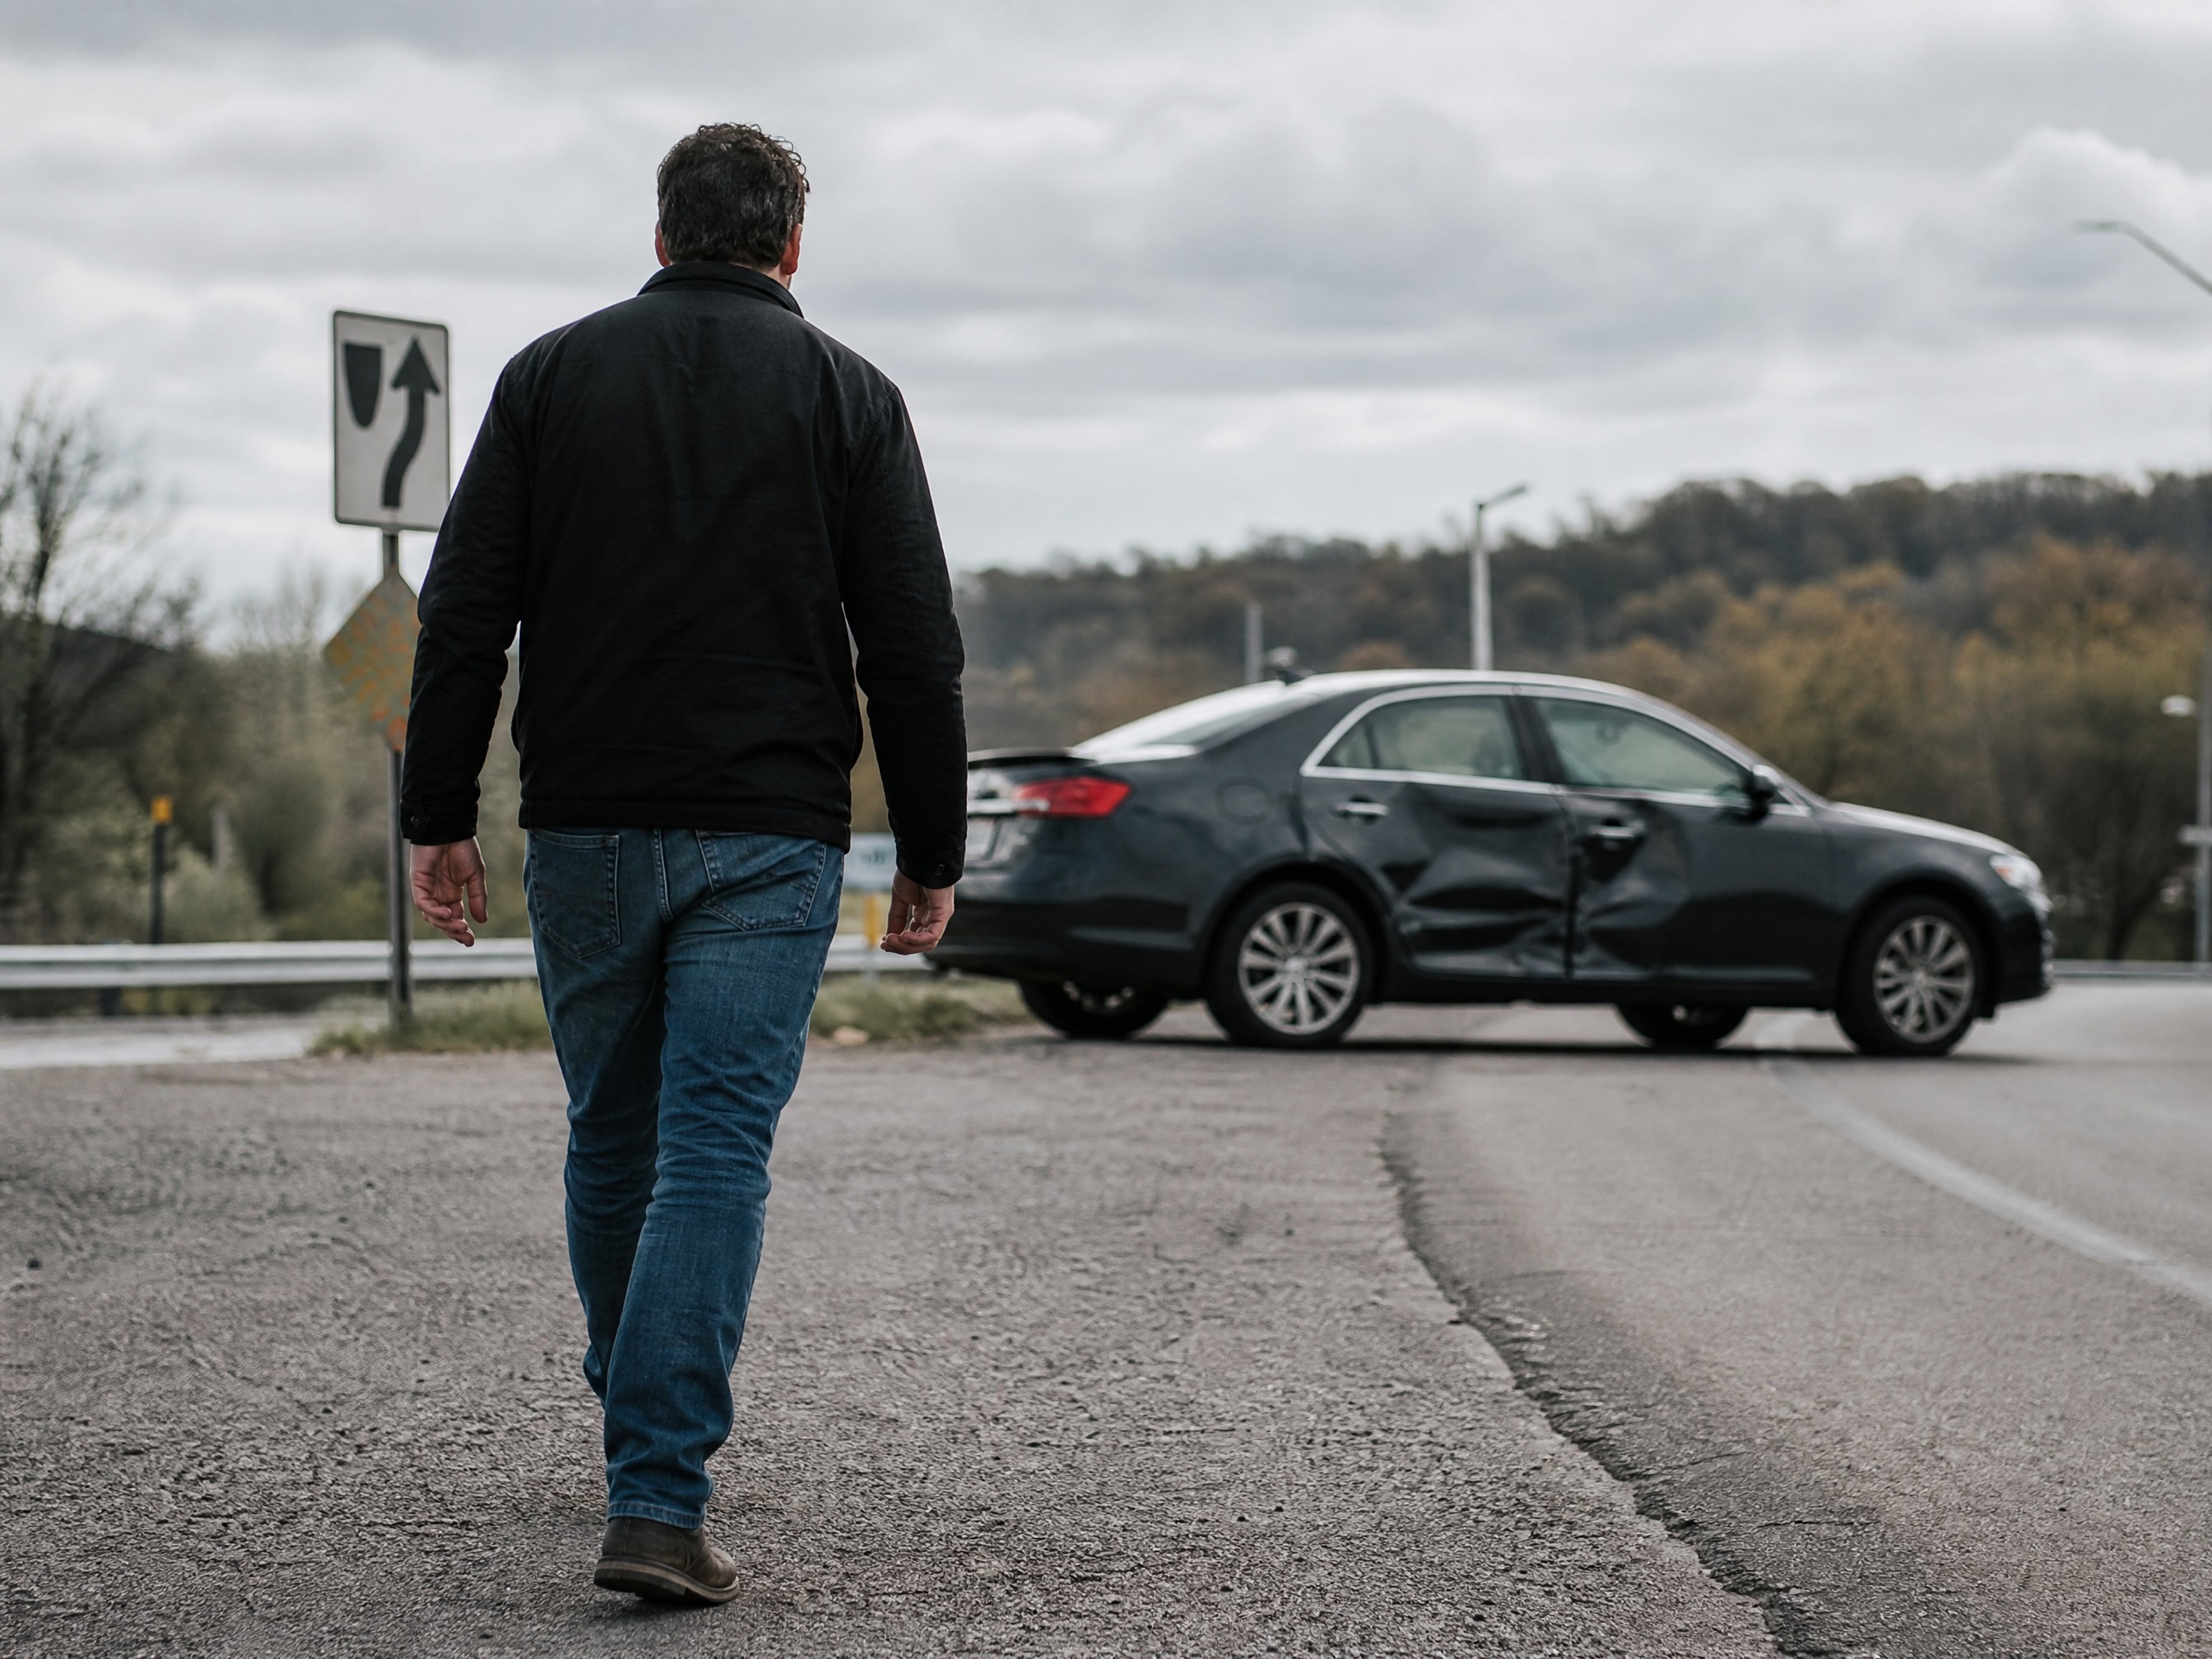
Before you touch anyone, pause for five seconds and look around.
Is the car on fire? Is fuel leaking near a hot exhaust? Is the vehicle on an active highway? Are other cars approaching? A crash that injured one person can injure two if you don't look first.
If the scene is actively dangerous — fire, unstable vehicle on a slope, oncoming traffic with no way to warn — do not approach. Call 911, describe the hazard, and keep yourself safe. You cannot help anyone from a gurney.
If the scene is stable, move in. Quickly.
Step 2 — Call 911 Immediately (Here's What to Say)
Call before you do anything else. Put it on speaker so your hands are free.
Dispatchers are trained to help you through this. Here's what they need to hear:
- Your exact location — a cross street, a highway mile marker, the name of a nearby business
- How many vehicles are involved
- How many people appear injured
- Any obvious hazards — fire, downed power lines, fuel spill
Stay on the line if you can. If you need both hands, set the phone down and keep talking. Dispatchers can hear you and will keep feeding you instructions.
One thing that slows dispatch down: vague locations. "On the highway near downtown" sends responders to the wrong place. Be specific.
Step 3 — Check for Responsiveness — Don't Move Them Yet
Here's the question everyone asks at a crash scene: should I move them?
The answer is almost always no — not unless there's an immediate life threat like fire or rising water. Crash victims can have spinal injuries that aren't visible. Moving someone with an unstable spinal fracture the wrong way can cause paralysis. Wait for EMS if at all possible.
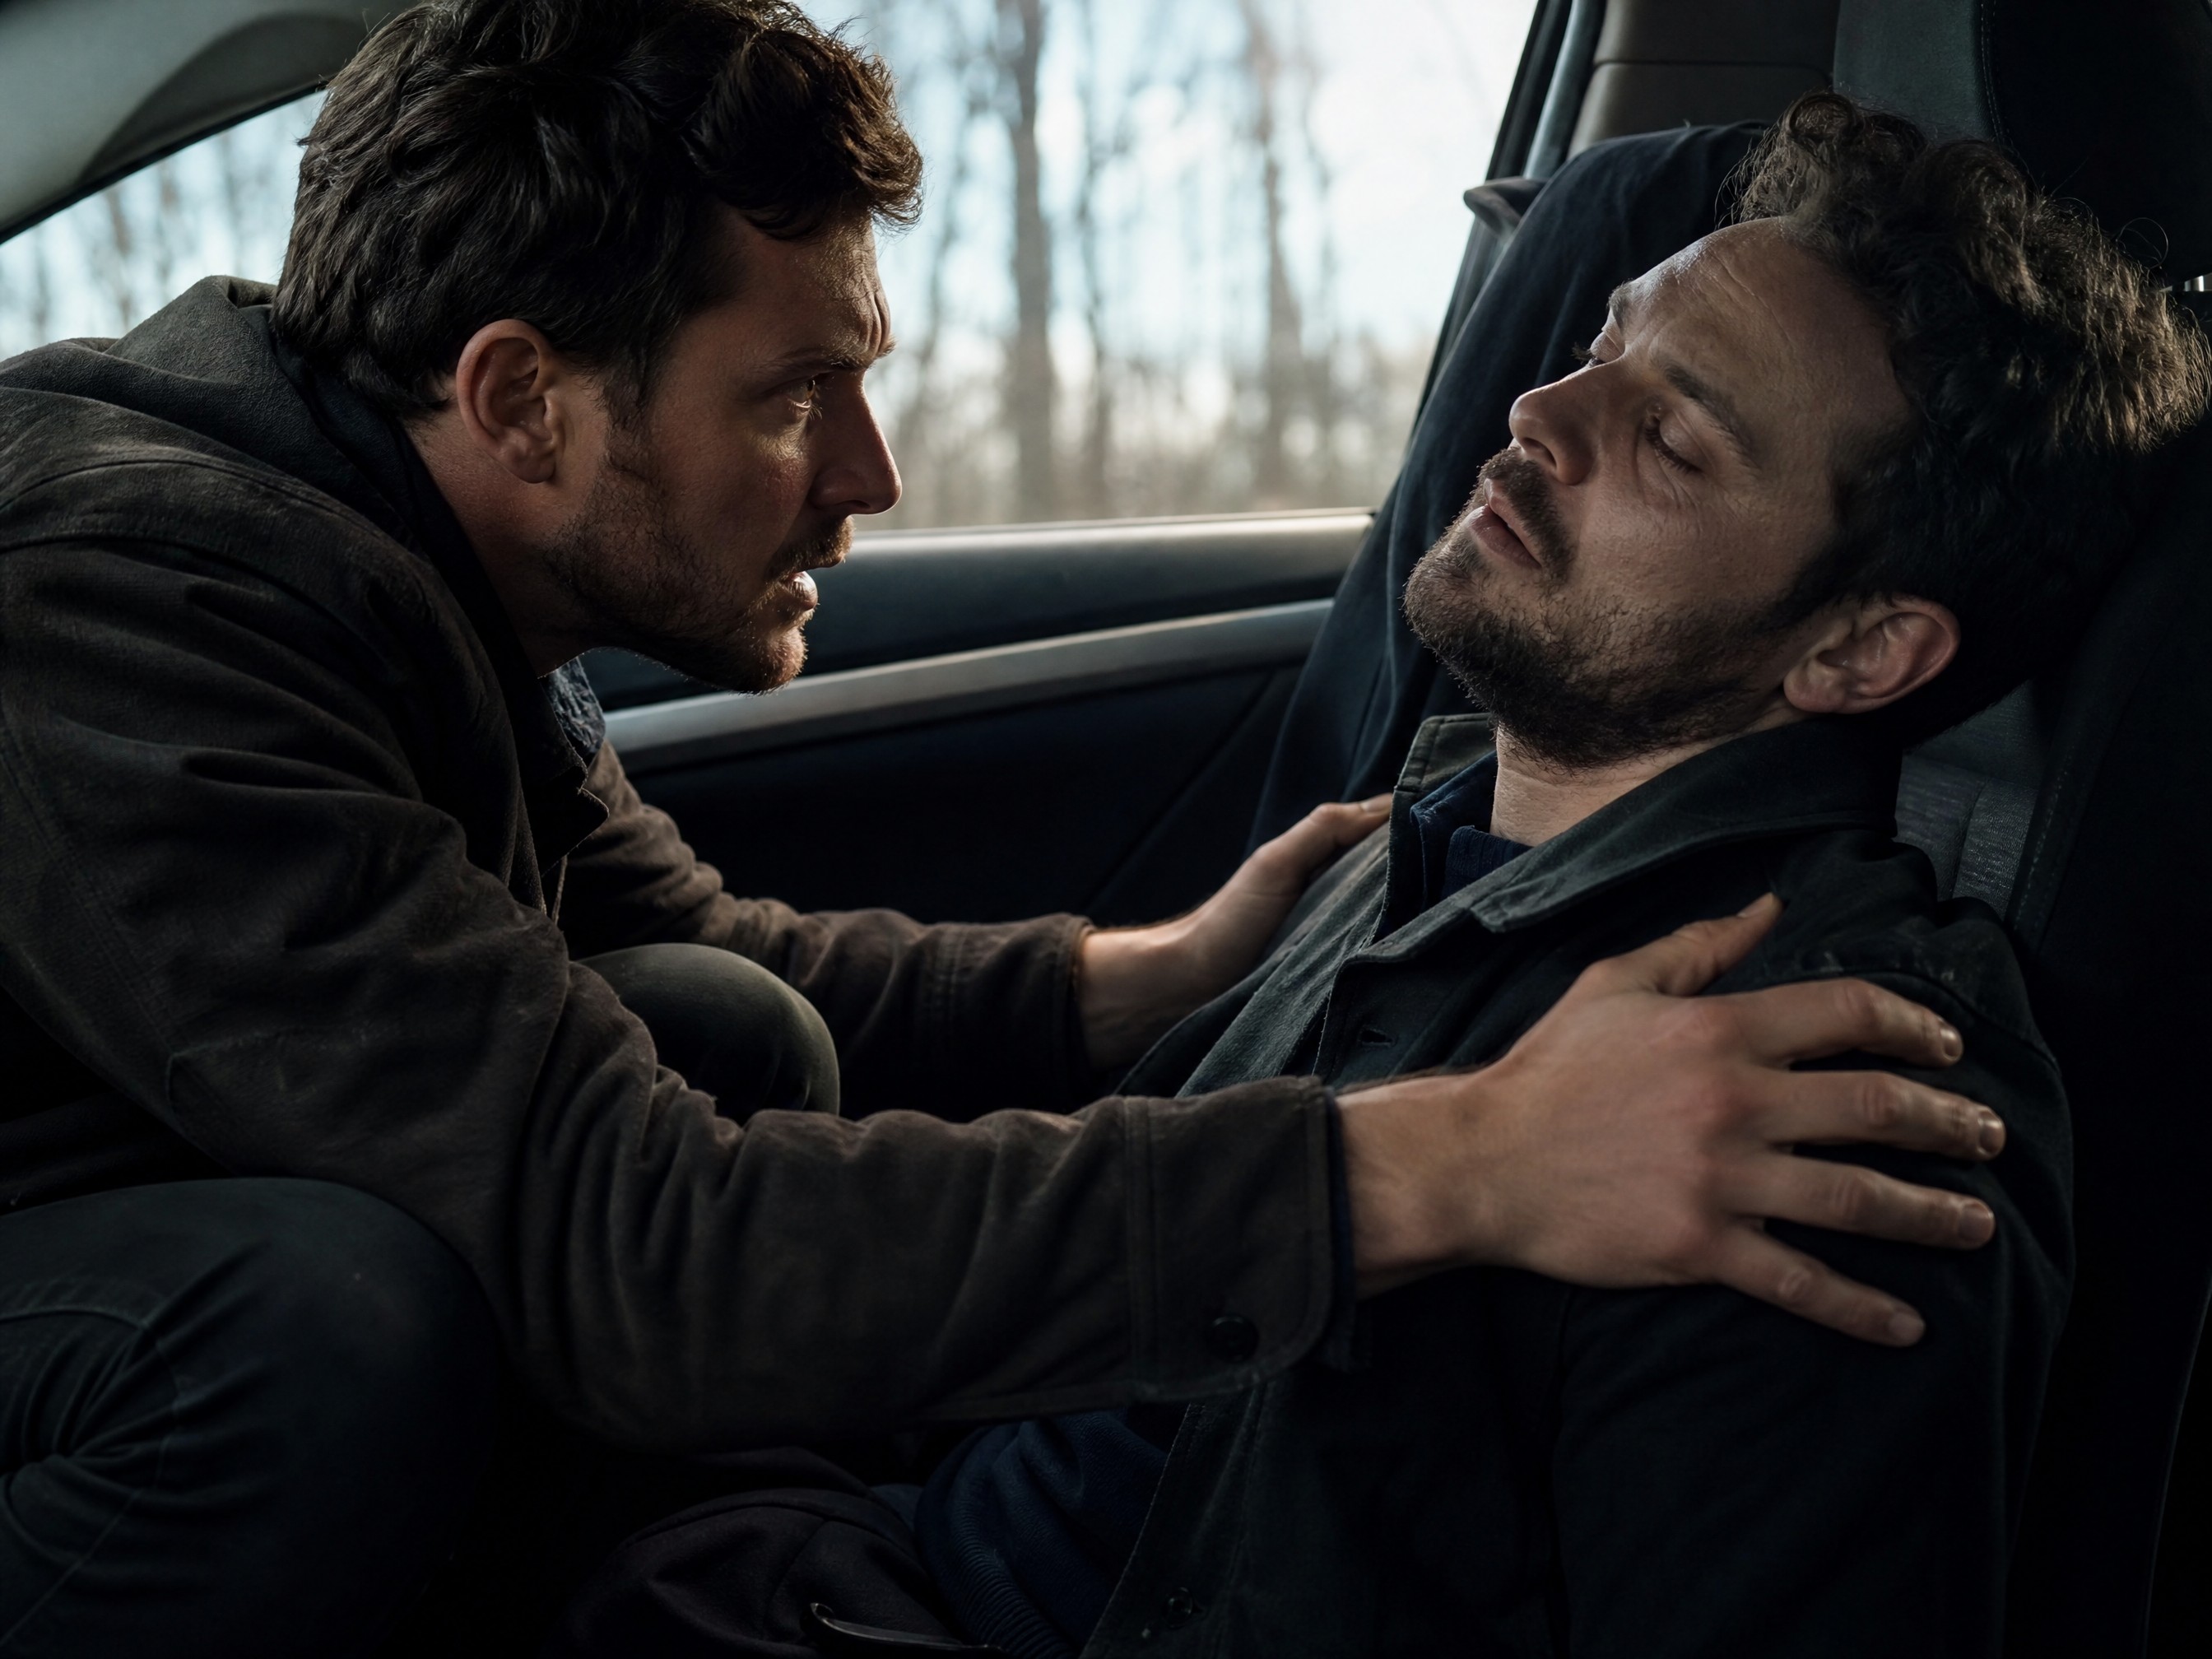
To check responsiveness: tap the person firmly on both shoulders and say loudly, "Can you hear me? Open your eyes." Watch for any response — eye movement, sound, shifting.
Then check breathing. Watch for chest rise. Listen. If you can, hold your cheek near their mouth and feel for air movement. Do this for no more than 10 seconds.
If they're responsive, keep them calm and still. Reassure them. Tell them help is coming.
If they're not responsive and not breathing normally — go to Step 6 for CPR.
Step 4 — Control Severe Bleeding Right Now
Severe bleeding is the number one preventable cause of death in trauma. This is where bystanders make the biggest difference.
If someone has a wound that is actively pumping or gushing blood, you act immediately.
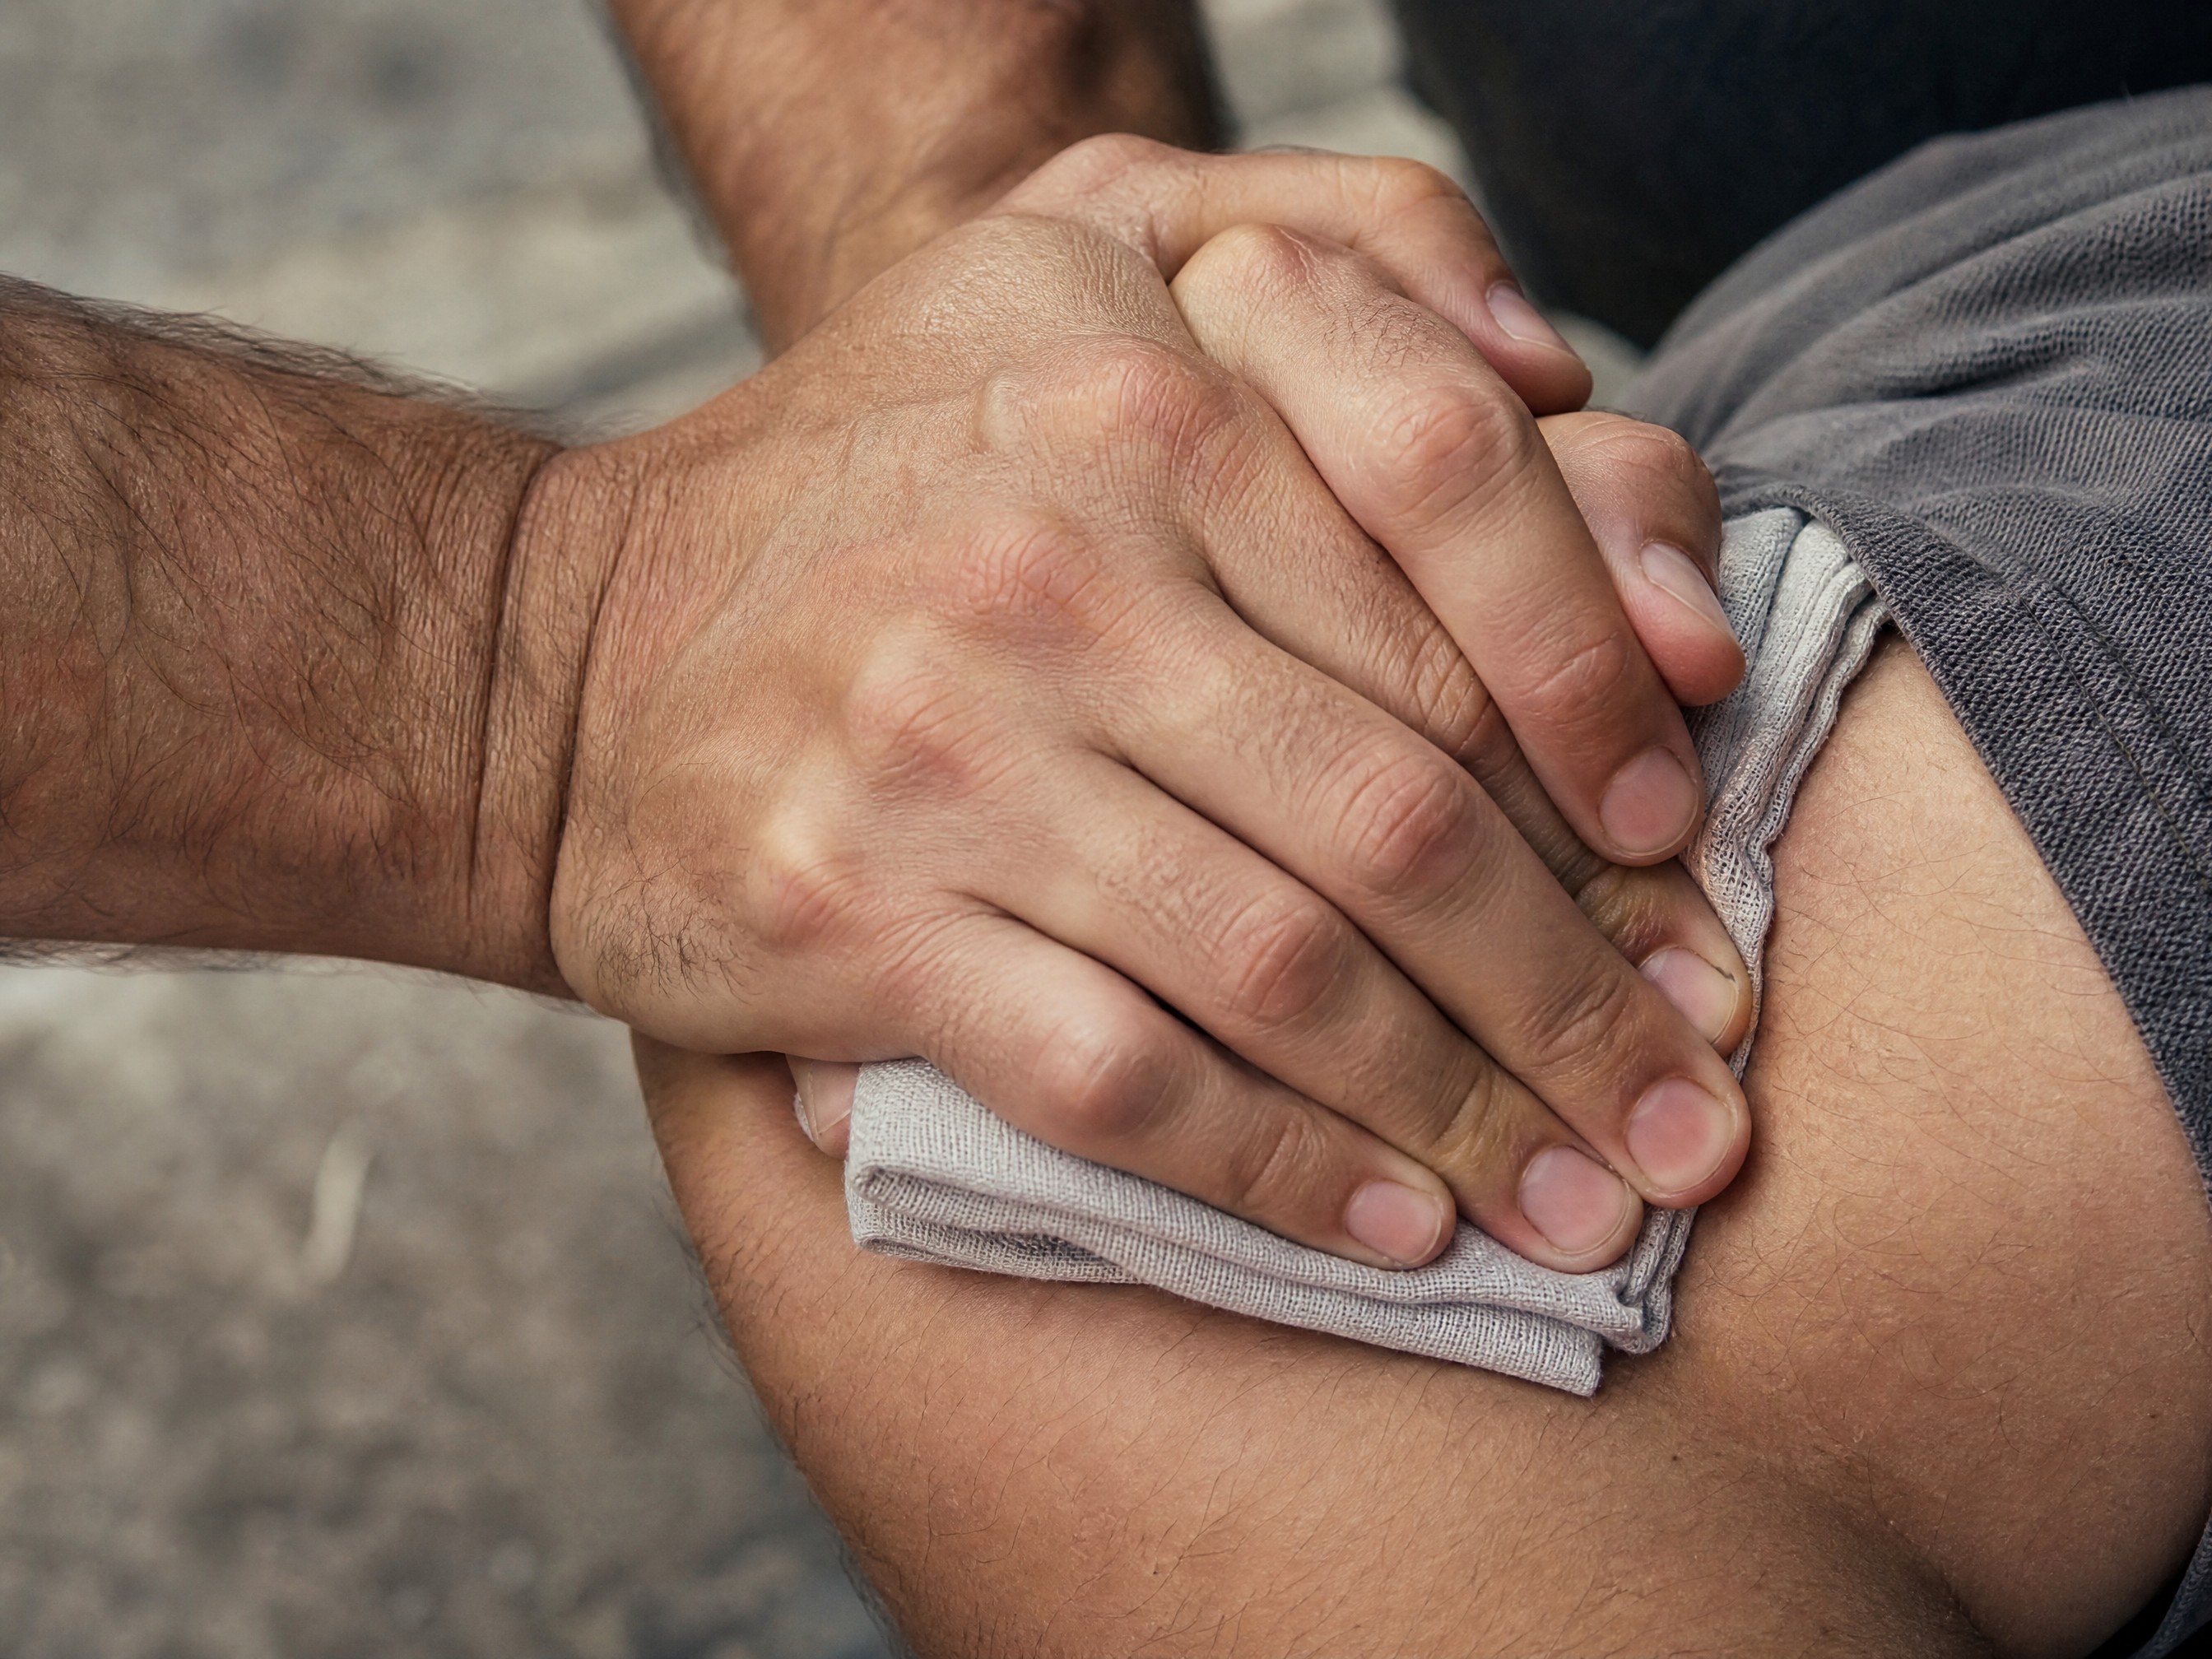
Direct pressure: Use whatever you have — a shirt, a towel, a jacket — folded into a thick pad. Press it hard against the wound and hold it. Do not remove the pad to check if it's working. If blood soaks through, add more material on top and press harder. The goal is continuous, firm pressure.
For limb wounds: If the wound is on an arm or leg and direct pressure isn't controlling it, a tourniquet may be necessary. If you have a commercial tourniquet, apply it 2 to 3 inches above the wound — not on a joint. Tighten until bleeding stops. Note the time. Tell EMS when it was applied.
If you don't have a tourniquet, improvise: a belt, a torn strip of clothing. Wrap and tighten above the wound. Imperfect application of a tourniquet is better than no tourniquet on a bleeding limb.
For torso wounds: Chest and abdominal wounds require wound packing. Pack the wound cavity firmly with gauze or cloth — push it in — and apply pressure. This is not pleasant. It is necessary.
More on how to stop severe bleeding if you want a deeper breakdown of these techniques.
Step 5 — Watch for Shock and Internal Bleeding
Not all life-threatening bleeding is visible. Internal bleeding — bleeding inside the abdomen, chest, or pelvis — can kill just as fast as an open wound, and there's no blood to see.
Signs that someone may be bleeding out internally:
- Skin is pale, cool, or clammy
- Rapid, shallow breathing
- Confusion or unusual restlessness
- Abdomen feels rigid or tender when touched
- Complaints of severe stomach pain after the crash
These are also the signs of hypovolemic shock — the body shutting down due to blood loss. If you see these, tell dispatch immediately when you update them.
What you can do: Keep the person still. If they're conscious and not injured in the spine or legs, you can carefully lay them flat and elevate their legs slightly — this helps blood stay in the core. Do not give them anything to eat or drink. Keep them warm with a jacket or blanket. Talk to them. Stay with them.
Step 6 — If They're Not Breathing — What to Do
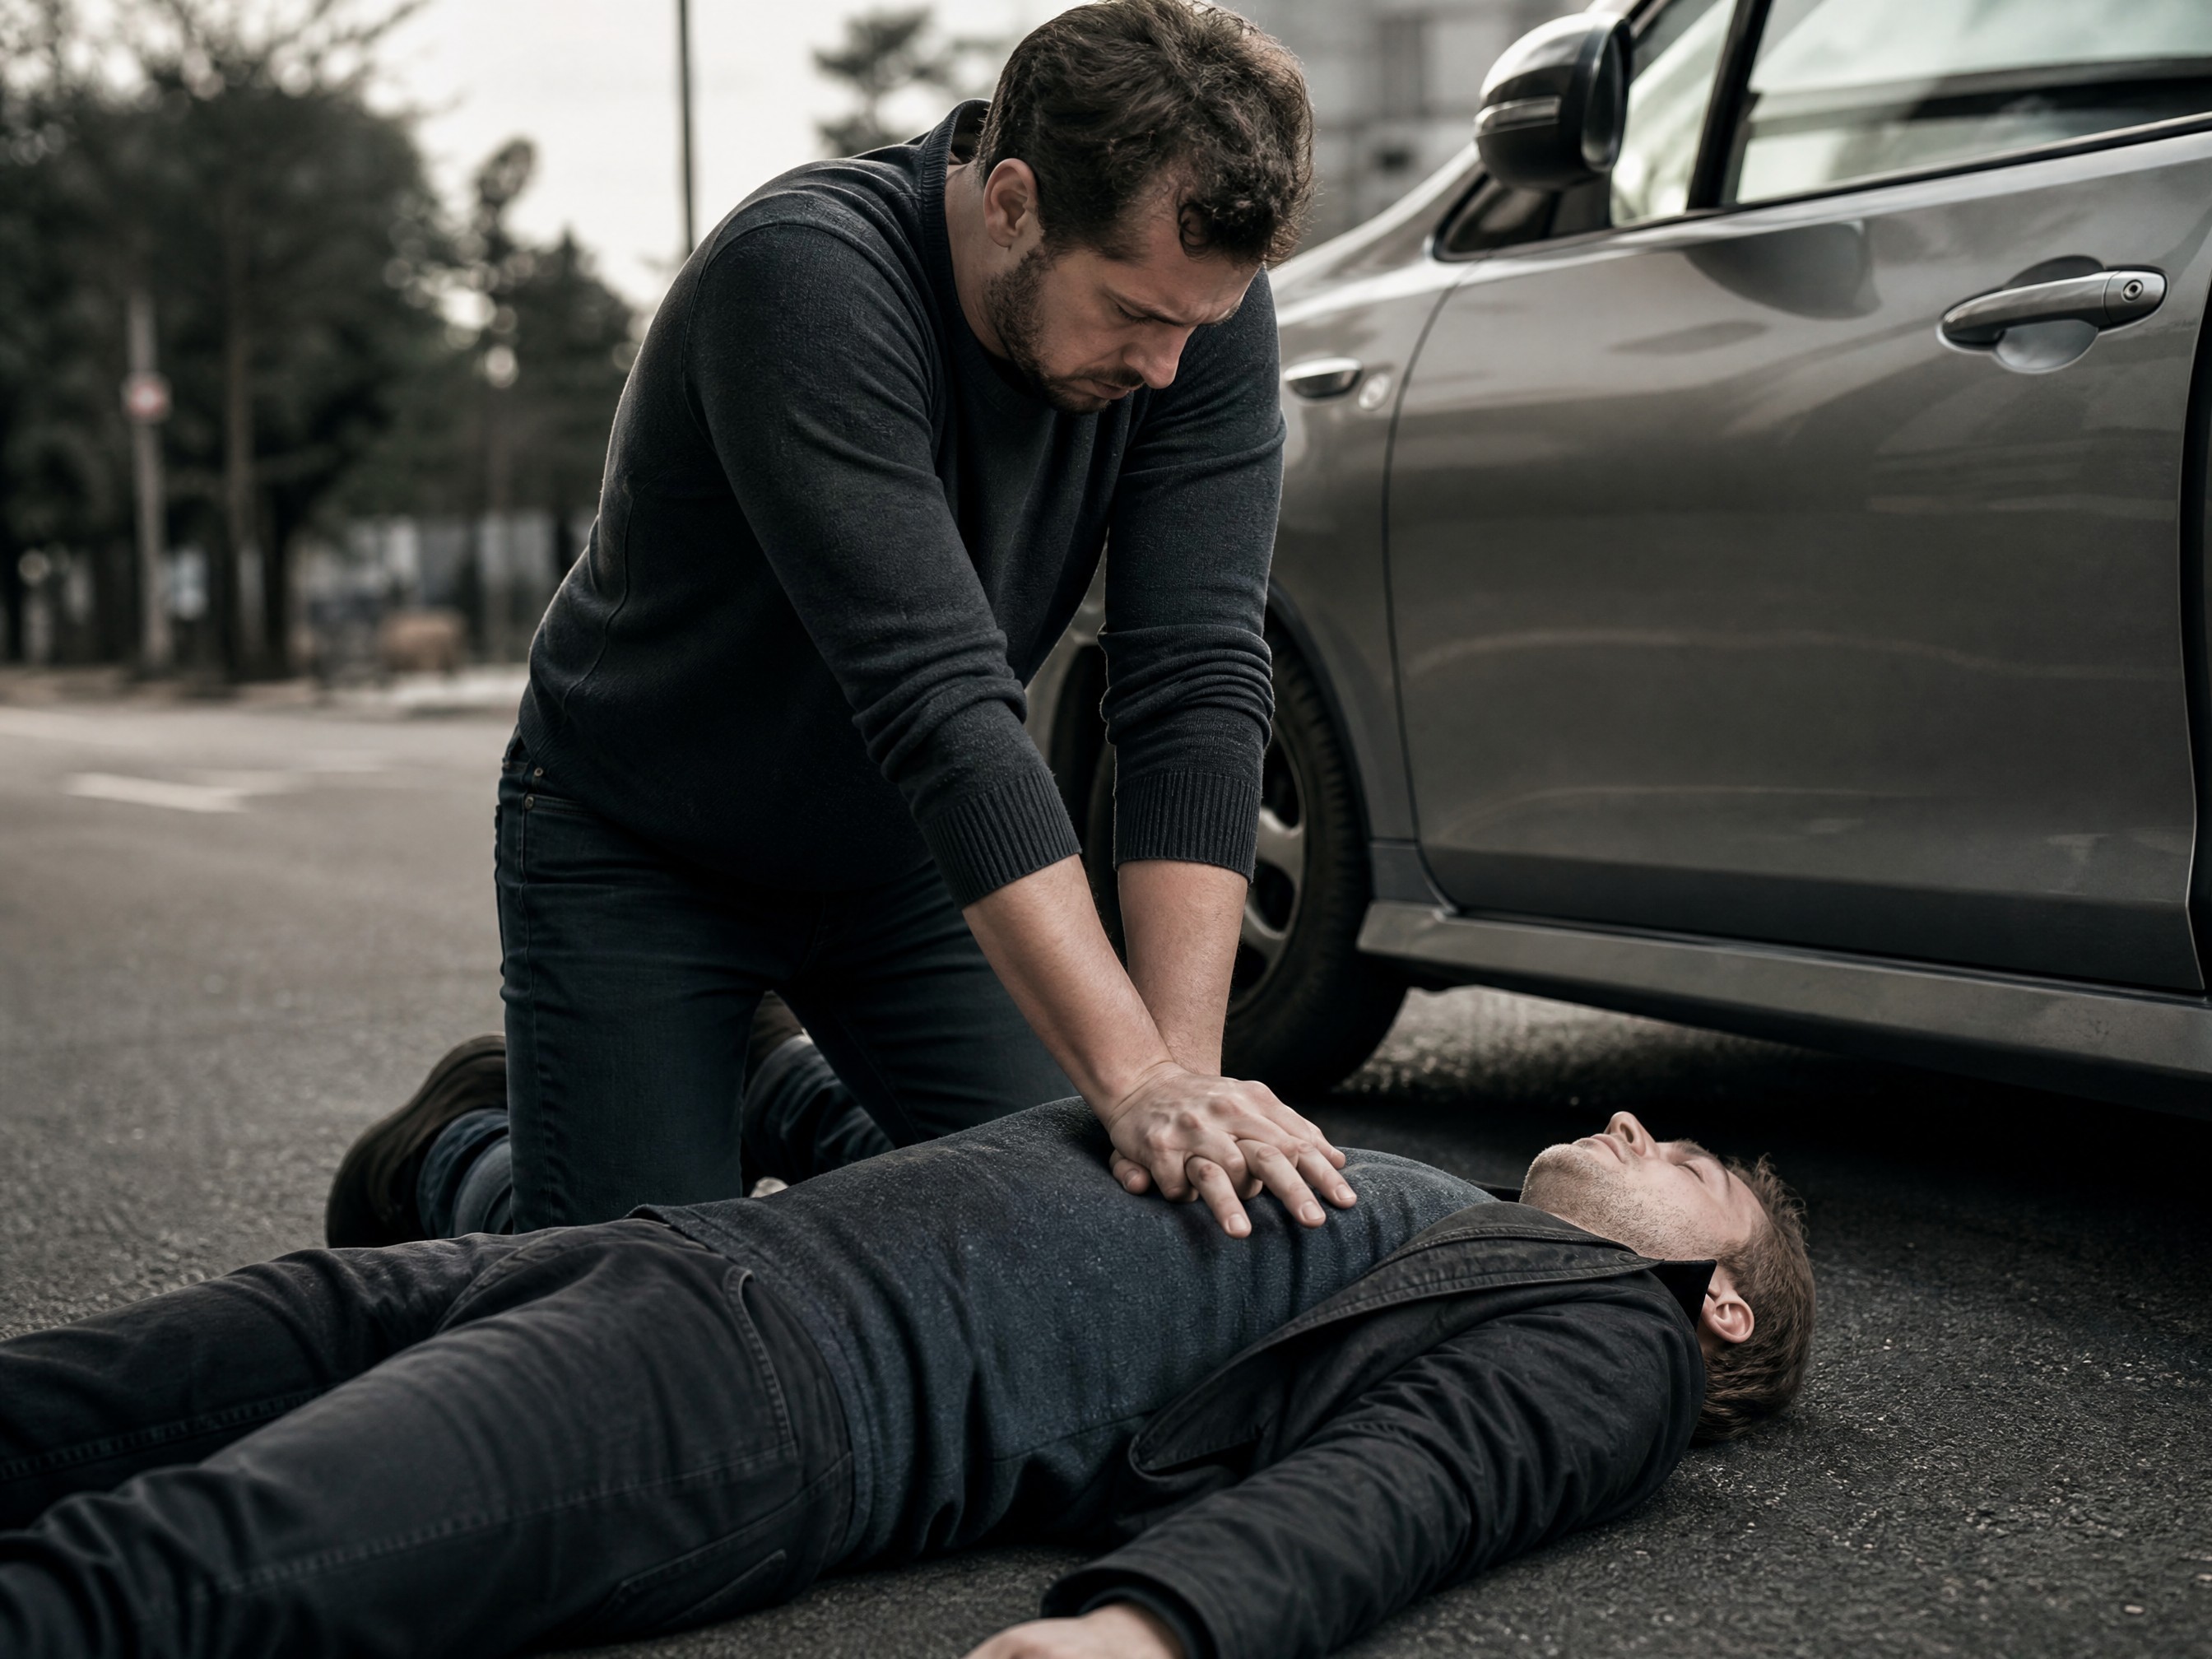
If the person is unresponsive and not breathing normally — gasping counts as not breathing normally — start hands-only CPR immediately.
Here's the sequence:
- Position yourself beside them, kneeling at chest level. Make sure you have a stable base and can apply full downward force.
- Lace your fingers together and place the heel of your bottom hand on the center of their chest, directly on the breastbone. Keep your fingers lifted off the chest wall — only the heel makes contact.
- Push down hard and fast — at least 2 inches deep, 100 to 120 pushes per minute. Lock your elbows. Use your body weight, not just your arms. The beat of "Stayin' Alive" is the right tempo.
- Do not stop until EMS arrives or an AED is available and ready. If an AED becomes available, use it — then resume compressions immediately after a shock is delivered.
For adults, hands-only CPR — compressions without rescue breaths — is as effective as traditional CPR in the first few minutes after cardiac arrest. You do not have to give breaths if you're not comfortable doing so.
Note: CPR technique differs for children versus adults. Children require gentler compressions and a different hand position.
What NOT to Do at a Car Accident Scene
Some instincts at a crash scene are wrong and can make things worse.
Don't remove a motorcycle helmet. Unless the person isn't breathing and you need airway access, leave the helmet on. Removing it incorrectly can cause or worsen a spinal injury.
Don't give water or food. Even small amounts can be dangerous before surgery. If internal injuries are present, it makes things worse.
Don't drag someone out through a window unless there is immediate fire or water risk. The contortion required to pull someone through a window frame puts serious torque on the spine.
Don't assume unconscious means dead. Start CPR if they're not breathing. Let EMS call it if there's nothing to be done.
Don't leave the scene once you've started helping, unless you're in immediate danger. Witness information and continuity of care matter to EMS.
A trauma kit in your vehicle doesn't require training to use effectively — it just requires knowing what's inside and the sequence above. The gear that matters most in the first minutes of a crash is the same gear that fits in a compact bag: pressure bandages, tourniquets, gauze. Get the 1st Hour Trauma Kit before you need it.
This content is for informational purposes only and does not constitute medical advice. In any emergency, call 911 immediately.


