Gunshot Wound First Aid: What to Do When 911 Is Still Minutes Away

Picture this: You're six miles from the nearest paved road. Deer season. A buddy drops into a ravine ahead of you. You hear a single shot — then silence, then shouting. By the time you scramble down to him, his leg is soaked through his pants, and you have no cell signal. Help is not coming for at least 25 minutes.
This is not a fringe scenario. It happens on ranges, at rural properties, in parking lots after a shooting incident, and in backcountry terrain across this country every year. The ER being eight minutes away is a city luxury. Most of the people reading this can't count on that.
This guide covers gunshot wound first aid the way a field medic would brief a civilian: what to do, when to do it, and why the first ten minutes of your response shape everything that comes after. We'll walk through the trauma survival window, wound location differences, improvised care when you have no kit, and what gear to carry before you ever need it.
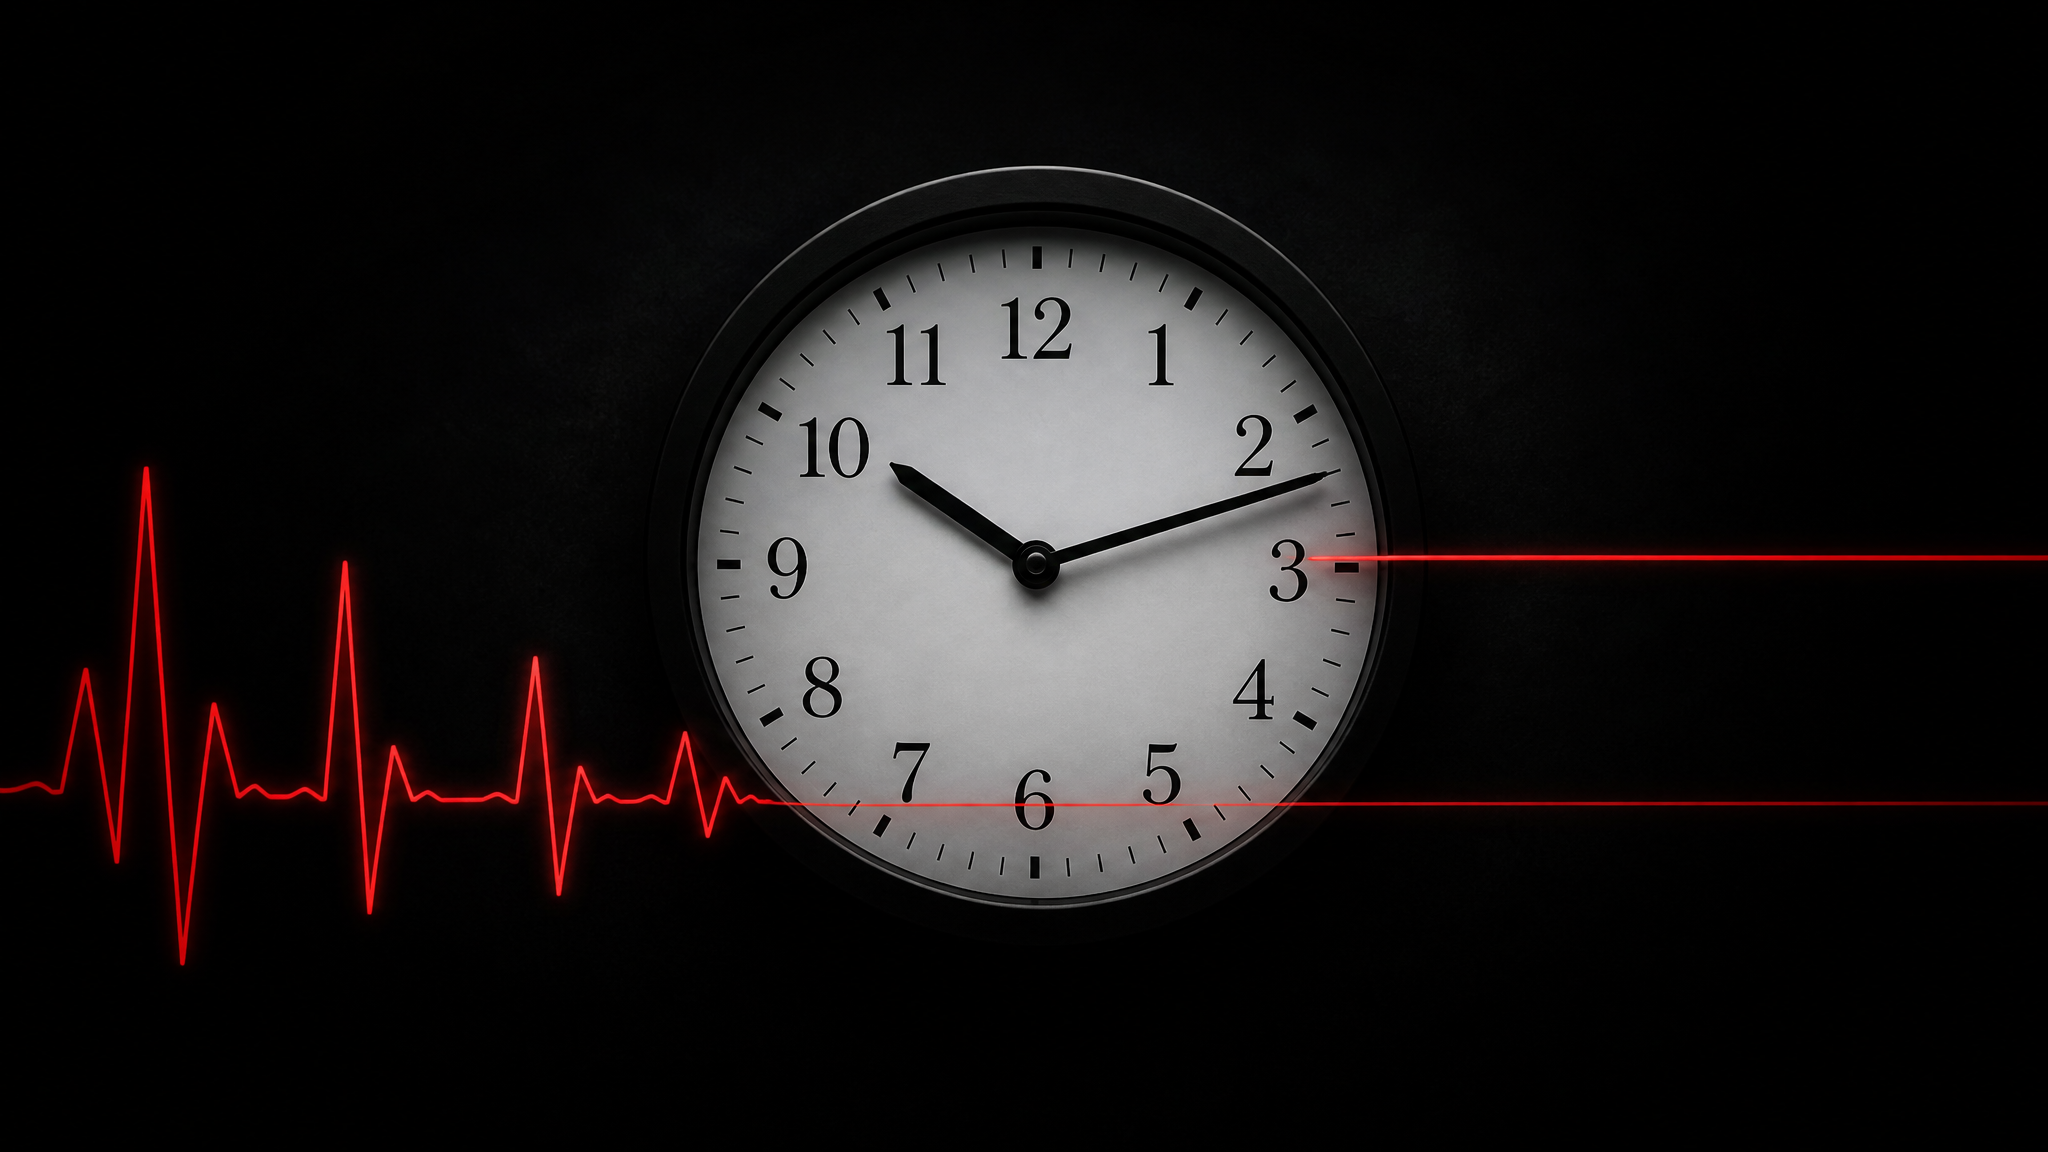
Why the First 10 Minutes Determine Survival
Gunshot wounds kill through three mechanisms: hemorrhage, airway failure, and tension pneumothorax (a collapsed lung). Of these, hemorrhage accounts for the majority of preventable deaths — and most of that bleeding happens in the first several minutes.
Bleeding out from a major extremity wound or damaged artery is not a slow process. Depending on the vessel involved, a person can lose enough blood to go into irreversible shock in under five minutes. Once that threshold is crossed, the outcome changes dramatically — even with a trauma team and an operating room nearby.
This is why time matters more than almost anything else. Every minute without hemorrhage control is a minute that cannot be reclaimed. You don't need to be a paramedic to intervene effectively. You need to know the basics, act without hesitation, and stay focused on the problem in front of you.
The research is consistent: bystanders who apply a tourniquet before EMS arrives significantly improve survival odds in limb injuries with arterial bleeding. The same principle extends to wound packing and chest sealing. The skills are not complicated. What's required is that you've learned them before the moment arrives.
Your goal in the first ten minutes: stop the bleeding, protect the airway, manage shock, and hold the line until EMS takes over.
Step 1 — Ensure Scene Safety Before You Touch Anyone
This is the step people want to skip. It feels wrong to pause when someone is hurt. Do it anyway.
Running into an active shooting situation without assessing the environment is how bystanders become victims. Before you move toward the injured person, take three seconds and answer these questions:
- Is the threat neutralized, contained, or gone?
- Is there any indication of additional danger — a second shooter, an unstable vehicle, a fire risk?
- Can you reach the victim without crossing an exposed position?
If you're at a range or hunting property and the injury was accidental, scene safety is quick. If the incident involved an assault or active violence, treat the scene as potentially active until law enforcement confirms otherwise.
Move the victim only if leaving them in place puts them or you at imminent risk. Moving a shooting victim unnecessarily can worsen spinal injuries — though hemorrhage control still takes priority over spinal precautions if the bleeding is severe.
Once you've confirmed safety: move in fast.
Step 2 — Call 911 and Control the Chaos
Get someone calling 911 the moment you determine it's safe. If you're alone, make the call yourself before beginning assessment — then put it on speaker and set the phone down. Do not hold the phone while trying to work on a patient.
When you call:
- Give your location as specifically as possible (GPS coordinates if you have them, landmarks, road names)
- State clearly: "There is a gunshot victim. I need EMS immediately."
- Follow dispatcher instructions without argument
If there are other people present, delegate. Point at a specific person: "You — call 911 now. Stay on the line and give them our location." Point at another: "You — get the first aid kit from the truck." Assign tasks. Bystanders in crisis default to paralysis without a clear directive.
Control your own response too. Adrenaline will be working against you. Your hands may shake. Your voice may be louder than you intend. Acknowledge it, breathe through it, and focus on the task. Panic is contagious. Calm under pressure keeps others functional.
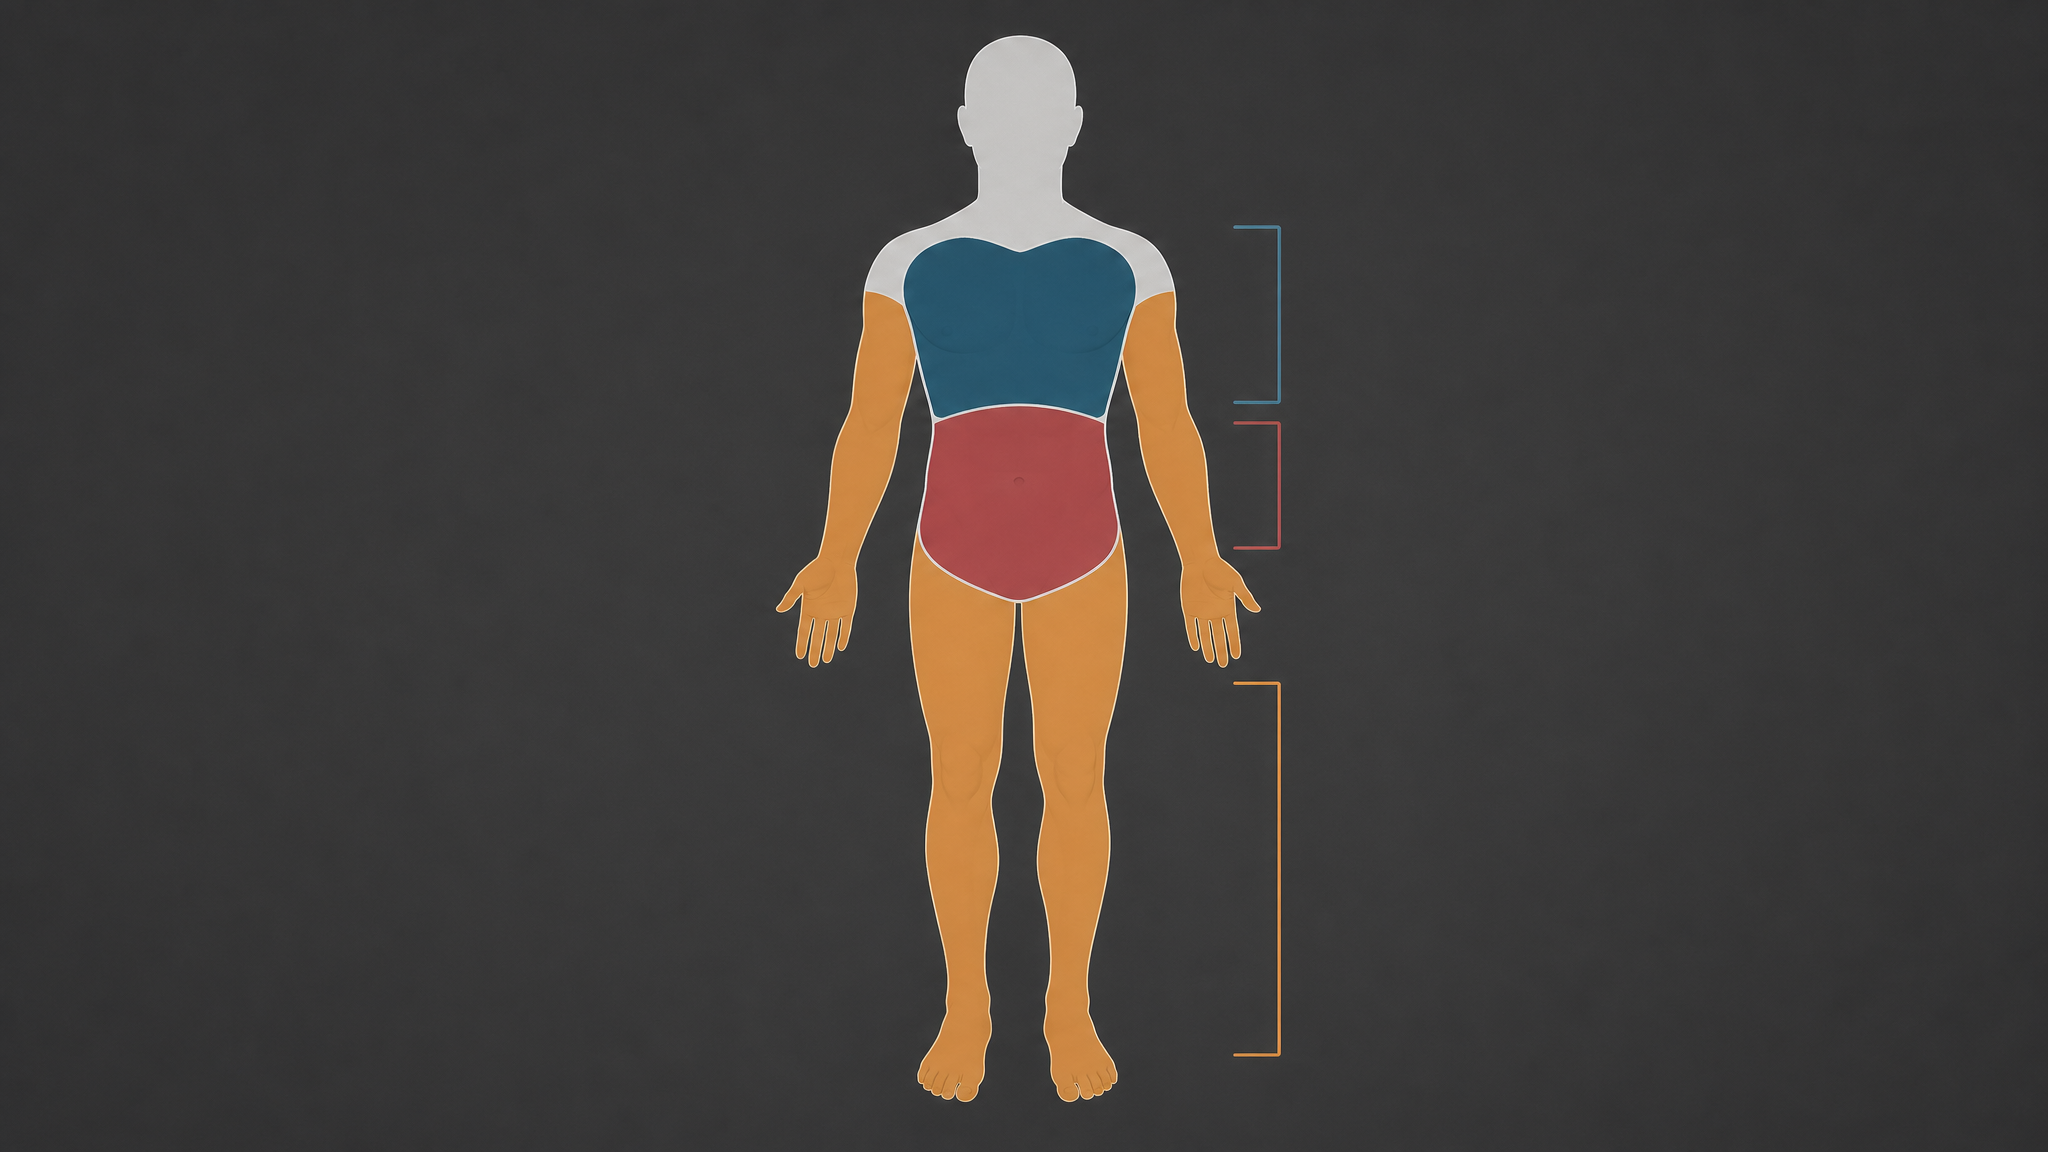
Step 3 — Identify the Gunshot Wound Type and Location (Extremity, Chest, or Abdomen)
Not all gunshot wounds are treated the same way. Where the bullet entered — and where it may have exited — determines your intervention. This is the fastest assessment you'll make, and it shapes everything that follows.
Extremity wounds (arms, legs): These are typically the most survivable with rapid intervention. They're also where puncture wounds to major arteries — the femoral in the thigh, the brachial in the upper arm — kill fastest. Look for bright red blood spurting in rhythm with the heartbeat. That's arterial. It demands a tourniquet immediately.
Chest wounds: Far more complex. The chest cavity contains the lungs, heart, and major vessels. A bullet wound to the chest can cause a pneumothorax — air enters the chest cavity and the lung collapses. Watch for: labored breathing, a sucking sound at the wound site, asymmetrical chest rise, or deteriorating oxygen status. Chest wounds require a chest seal, not wound packing.
Abdominal wounds: These bleed internally and that bleeding may not be visible. External management options are limited — your job is to keep the victim as still as possible, prevent shock, and get EMS on scene. Do not probe the wound. Do not remove impaled objects.
If there's an exit wound, treat it as its own wound. A through-and-through creates two wound sites. Both need to be addressed.
If you drew and fired in a defensive situation, you may be the first person on scene dealing with an injured party — including yourself. Know this before it happens: adrenaline masks pain, and you may not immediately register a wound you've sustained. After the threat is neutralized and the scene is safe, do a rapid self-assessment from head to toe before focusing exclusively on others. Check your torso, your sides, your thighs. Blood soaks through dark fabric slowly and hides in the folds of clothing. If you're involved in a defensive shooting and injury is possible, check yourself.
Step 4 — Stop the Bleeding: Tourniquet, Direct Pressure, and Wound Packing
This is the core skill. Everything else is secondary to hemorrhage control.
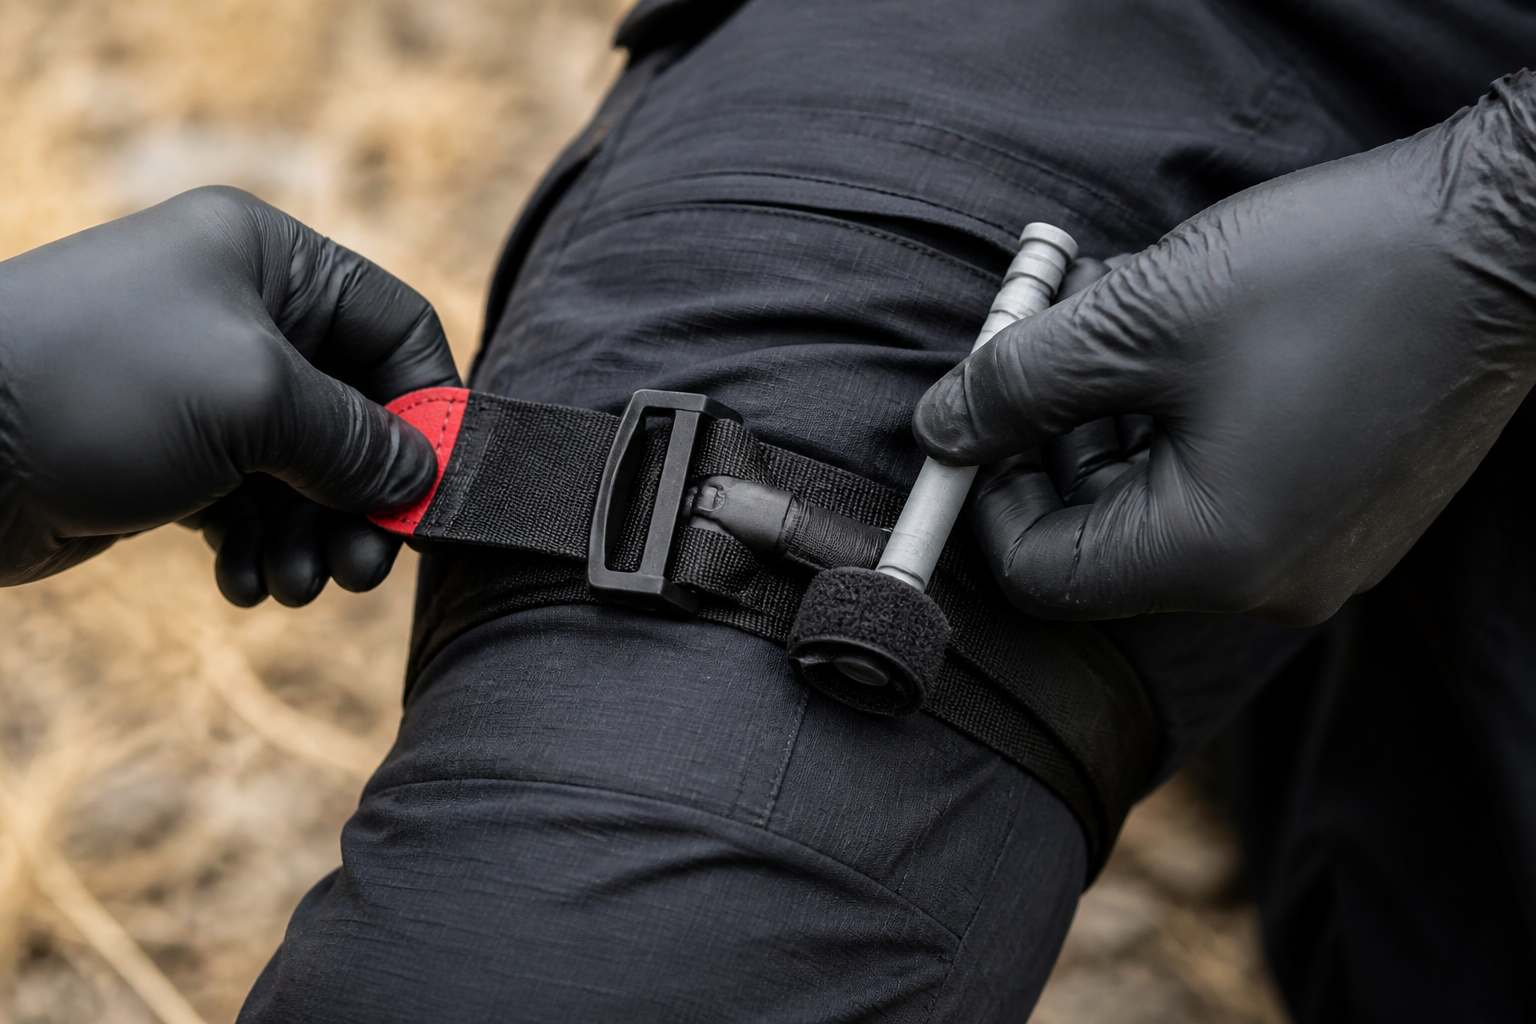
Tourniquet — extremity wounds with heavy arterial bleeding
If the wound is on an arm or leg and blood loss is severe, a tourniquet is your first move — not your last resort. The old thinking was to apply a tourniquet only when all else failed. That's been revised. Modern trauma protocols call for early tourniquet application on life-threatening extremity hemorrhage.
Apply the tourniquet 2–3 inches above the wound, not on a joint. Tighten until the bleeding stops. Note the time of application — write it on the person's skin if you have a marker. Do not remove the tourniquet once it's placed. Applying a tourniquet correctly requires practice — this is a skill to learn before you need it, not during.
Direct pressure — wounds not amenable to tourniquet
For wounds on the shoulder, groin, armpit, or neck, a tourniquet can't be placed. Direct pressure is your tool. Press a clean cloth, gauze, or dressing directly onto the wound. Use your body weight. Do not lift the dressing to check — you're interrupting the clotting process every time you look. If blood soaks through, add more material on top without removing what's already there.
Wound packing — deep cavities that won't seal with surface pressure
For deep wounds with heavy bleeding where you can't achieve pressure with your hand alone, wound packing is the technique that saves lives. Pack clean gauze or a hemostatic dressing into the wound cavity, pressing firmly as you go. Fill the space, then apply direct pressure over the packed wound. This creates internal resistance against the bleeding vessel.
Learning how to stop severe bleeding is a two-hour commitment that could mean the difference between someone walking out of a hospital or not. There's no shortcut for hands-on practice — get it.
Step 5 — Treat for Shock and Keep Them Breathing
Once bleeding is controlled, your next concern is shock. Hemorrhagic shock occurs when blood loss reduces the volume circulating through the body. Signs include: rapid or weak pulse, pale or mottled skin, confusion or altered mental state, rapid shallow breathing, and extreme thirst.
To manage shock:
- Keep the victim warm. Hypothermia accelerates shock. Use a mylar emergency blanket or any available covering.
- Keep them still. Movement increases blood flow and can dislodge forming clots.
- Position matters. If they're conscious with no spinal concern and no chest wound, lying flat with legs slightly elevated helps blood flow toward vital organs. Do not elevate if there's a suspected chest injury.
- Talk to them. Keep them awake, focused, and responding. If they lose consciousness, monitor their airway.
For chest wounds: A sucking chest wound needs to be sealed immediately. A commercial chest seal is the right tool. If you don't have one, a credit card or folded plastic can be taped over the wound on three sides — the open side acts as a one-way valve to allow air to escape but not enter. This is an imperfect improvisation, but it buys time.
Monitor breathing constantly. If a sealed chest wound causes worsening breathing (the seal may be allowing pressure to build), burp the seal briefly to release pressure, then re-seal.
What to Do If You Don't Have a Trauma Kit (Improvised Care)
Ideally you're never in this situation. But you might be.
For bleeding control without proper supplies:
- Use the cleanest available material — a t-shirt is better than nothing, though far from sterile
- Pack and press hard. Depth of pressure matters more than cleanliness in the short term — hemorrhage kills faster than infection
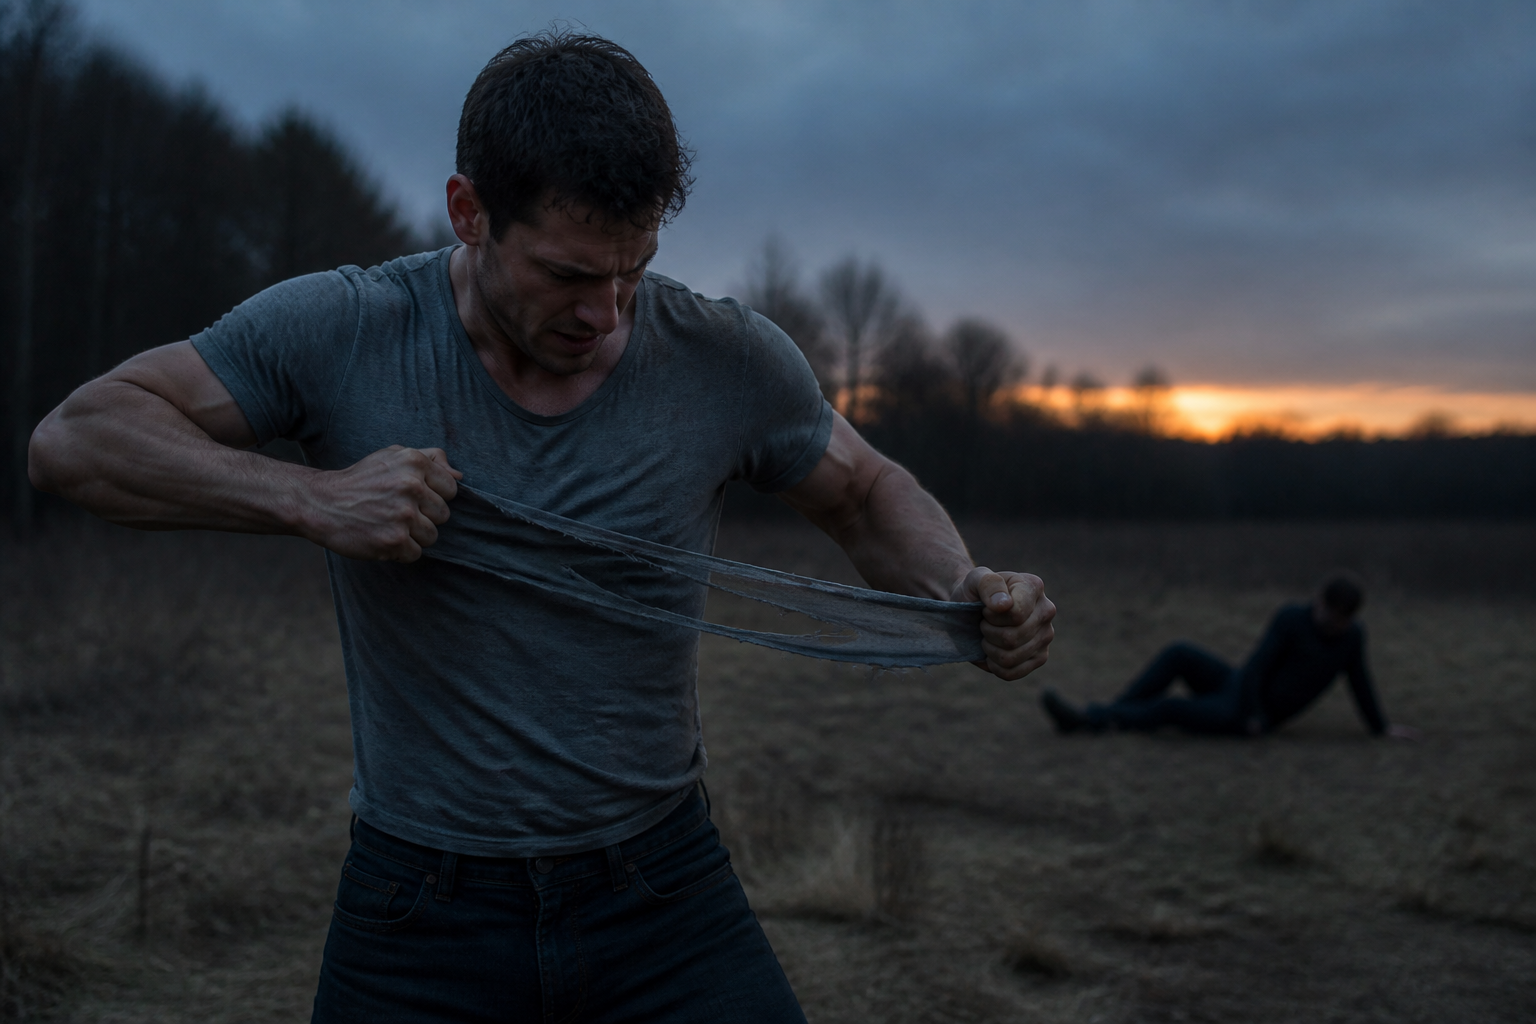
- Use a belt as an improvised tourniquet if no commercial one is available. Loop it, run the tail through the buckle, pull tight above the wound and cinch as hard as possible. Improvised tourniquets are less effective than commercial ones and require more force to achieve arterial occlusion
- For packing without gauze: tear clothing into strips and pack the wound cavity layer by layer, pressing firmly with each addition
For chest wounds without a commercial seal:
- Plastic wrap, a food bag, or any non-porous material can create a temporary seal
- Tape three sides only to allow air to escape
The honest limit of improvised care: It keeps someone alive longer than nothing. It does not substitute for trained response with proper equipment. Carry a kit. Know how to use it.
How to Build a Gunshot Wound First Aid Kit (What You Actually Need)
You don't need a hospital supply room. You need the right five items, always accessible, and the training to deploy them without reading the label first.
The core five:
- Commercial tourniquet — CAT (Combat Application Tourniquet) or SOFTT-W. Nothing else comes close for reliability. Keep it on your person, not buried in a bag.
- Hemostatic gauze — QuikClot or Celox. Standard gauze works for wound packing, but hemostatic gauze accelerates clotting significantly in high-bleed wounds. Worth the cost.
- Pressure bandage — Israeli bandage or equivalent. Allows you to apply sustained pressure without holding it manually.
- Chest seal — Hyfin Vent Compact or equivalent, two per kit. One for entry, one for exit.
- Trauma shears — Cuts through clothing fast without risking the patient.
Secondary add-ons worth including: nitrile gloves (at least two pairs), a mylar emergency blanket, a marker for time-stamping tourniquet application, and a mini flashlight for assessing wounds in low-light conditions.
Know where your kit is. Know which pouch it's in. In a real incident, you will not have time to sort through gear looking for it.
If you want a kit that's already built for this — the right components, the right quality, no guesswork — the 1st Hour Trauma Kit covers everything above in a compact, field-ready package. It's designed for exactly these situations: the times when professional help is still minutes away and everything depends on what you do right now.
This content is for informational purposes only and does not constitute medical advice. Gunshot wound care carries significant risk. The information provided here is intended to supplement — not replace — formal trauma first aid training. We strongly recommend completing a Stop the Bleed course or equivalent civilian trauma training before an emergency arises.


