Knocked-Out Tooth: The First 60 Minutes That Decide If It Can Be Saved
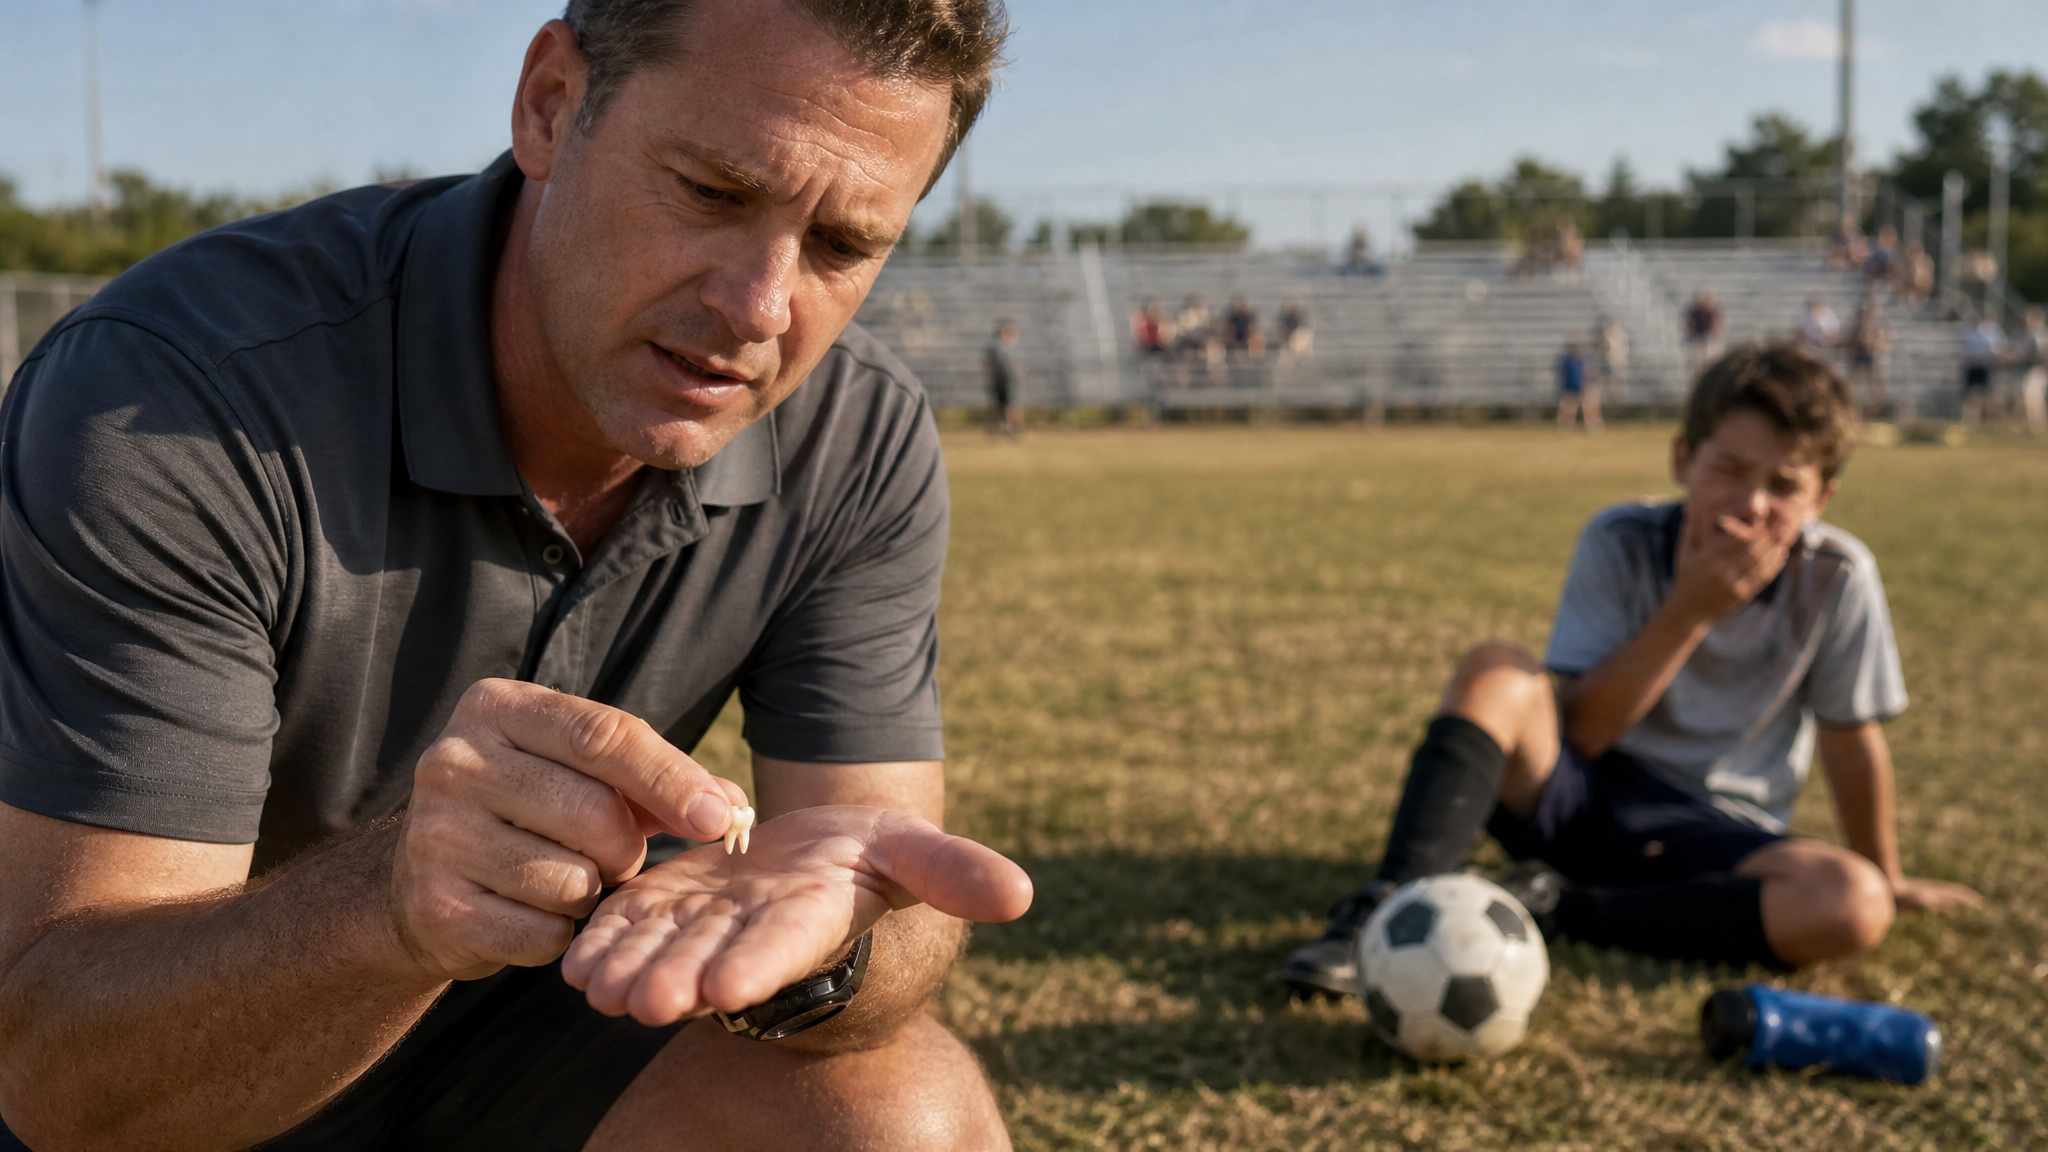
Knocked out tooth what to do is one of those questions nobody looks up until they need it in the next thirty seconds. A kid takes an elbow to the mouth at practice. A line drive catches someone square in the jaw. A curb catches a bike tire and a front tooth ends up on the pavement. Whatever the mechanism, the moment is the same: someone's holding a tooth that used to be in their mouth, looking at you, waiting for you to know what to do.
Most people freeze here, and it's understandable. A tooth on the ground looks final. It isn't, as long as you move fast and skip a couple of specific mistakes. This is what to do in the minutes you actually have.
A Knocked-Out Tooth Is a Race Against the Clock
Here's the part that surprises people: the tooth itself is usually fine. It's not cracked, it's not destroyed, it's just out of place. What's actually at risk are the tiny cells clinging to the surface of the root, the periodontal ligament cells that let the tooth reattach to the bone once it's back in the socket. Those cells start dying within minutes of being exposed to air, and once enough of them are gone, the tooth can't reattach the way it's supposed to, no matter how skilled the dentist is.
That's why a knocked-out tooth is treated as a genuine dental emergency, not something to deal with after the game ends or the drive home is over. Every study on avulsed teeth points to the same conclusion: the sooner the tooth goes back into the socket, or into a proper storage medium, the better its odds. According to Cleveland Clinic, teeth reimplanted within 30 minutes to an hour have the best chance of success. Wait past that window and those odds drop hard.
You don't need dental training to do the next several steps right. You need to move fast and avoid a small number of specific mistakes.
Pick It Up by the Crown, Never the Root
The first thing to get right is how you touch the tooth. Look at it and find the crown, the white part that would normally show when someone smiles. The root is the narrower, often yellowish section that was buried in the gum.
Pick the tooth up by the crown only. Don't touch the root with your fingers, a napkin, anything. The root's surface is coated with those same periodontal ligament cells that determine whether reimplantation works, and handling the root scrapes them off or crushes them the same way stepping on grass kills it. A tooth that gets picked up correctly by the crown still has a real shot. One handled by the root loses a lot of that shot in the first five seconds.
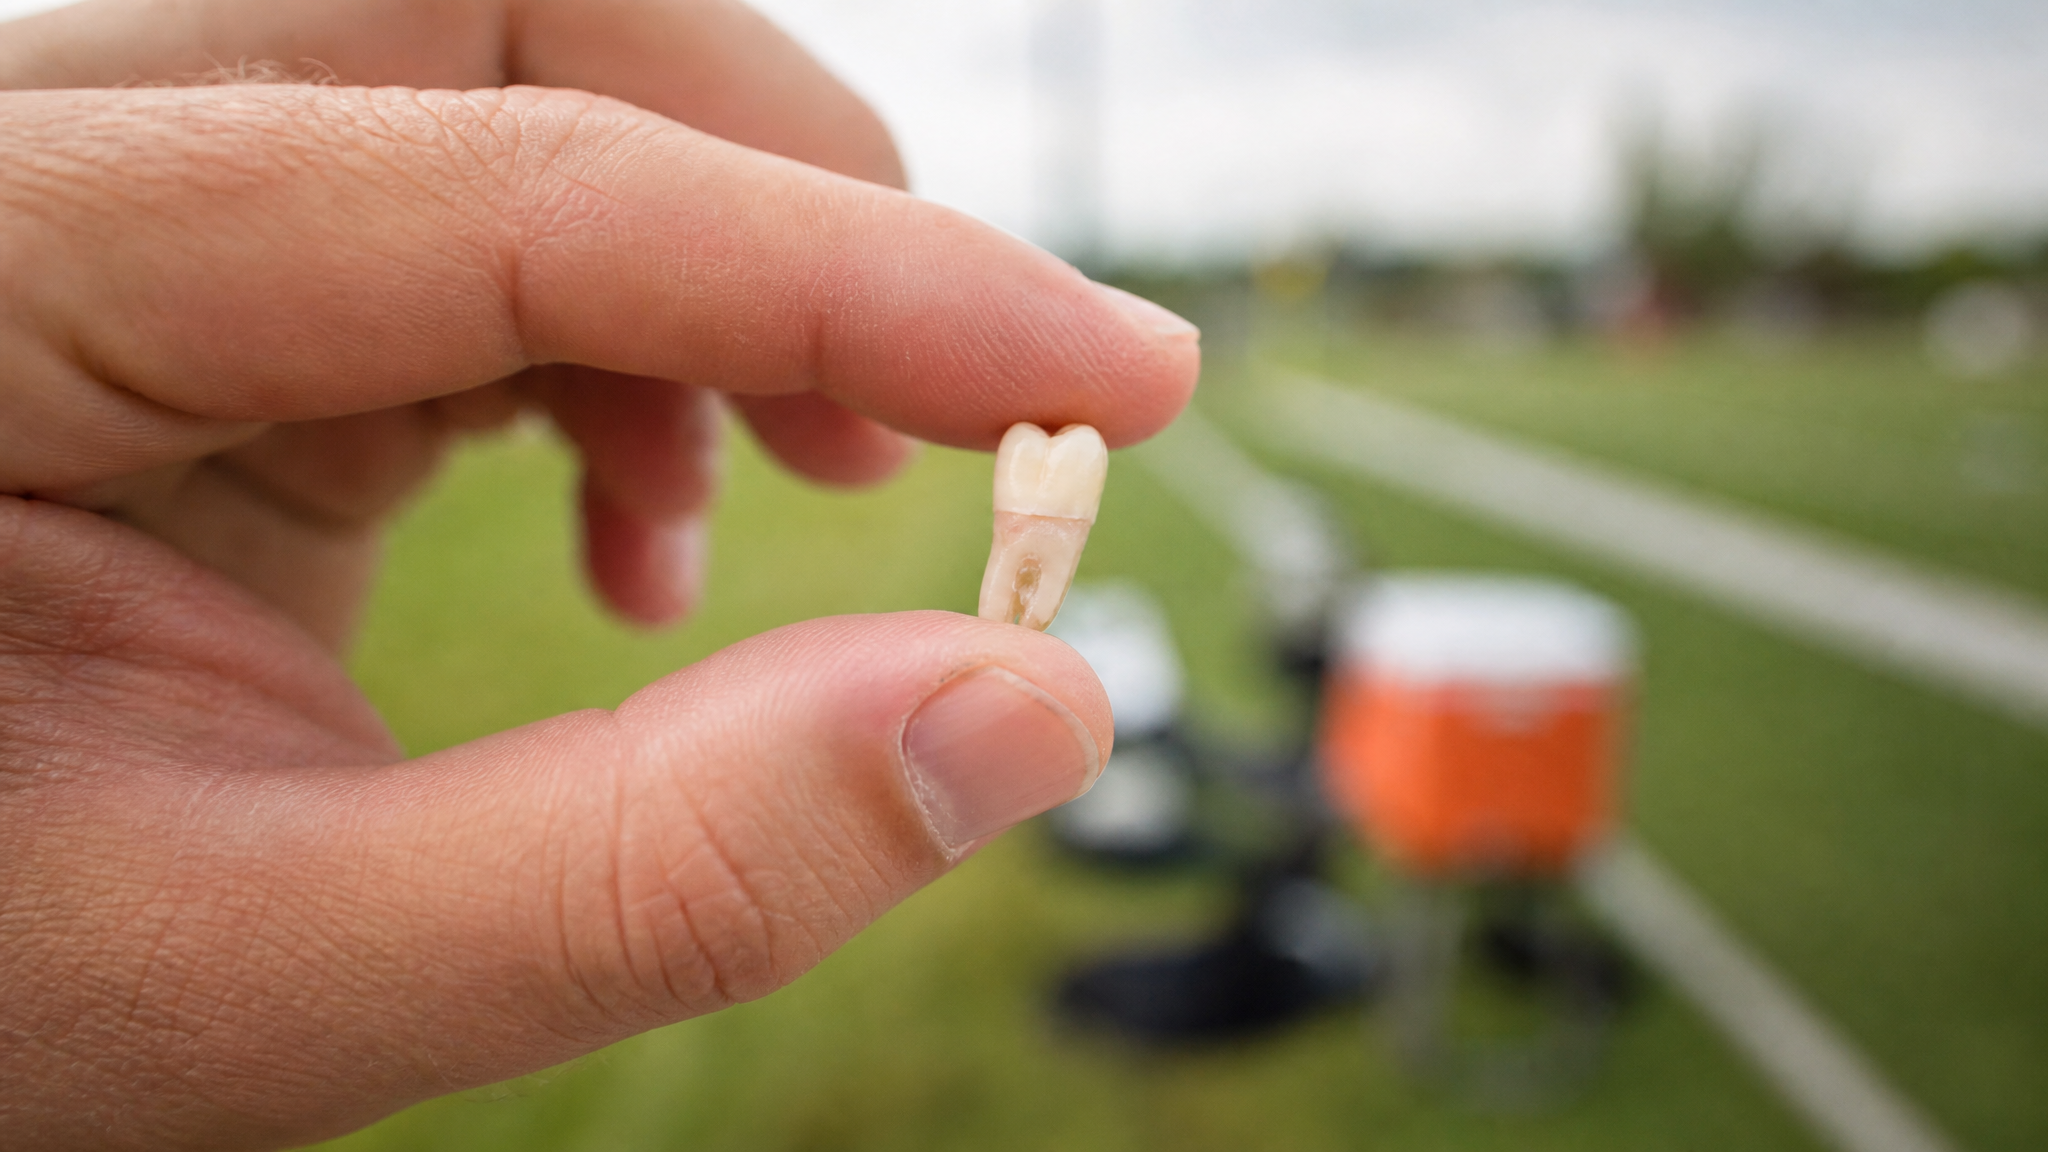
If the tooth landed on the ground, resist the urge to wipe it on a shirt or pick dirt off with your fingernail. That comes next, and it has its own rule.
Rinse, Don't Scrub
If the tooth is dirty, rinse it briefly under a gentle stream of water or milk, no more than about ten seconds. The goal is to knock loose debris off, not to get it surgically clean.
Never scrub the tooth, never use soap, and never dry it off with a towel or let it air-dry while you figure out next steps. Scrubbing does the same damage to the root surface that mishandling it does. Drying is even worse, because those root cells need to stay wet to survive at all. A tooth left dry on a table for even a few minutes loses viable cells fast.
If you're outside and all you've got is a water bottle, that's fine for a quick rinse. Just keep it brief, and get moving to the next step immediately after.
Try to Put It Back In: Here's How
This is the step most people skip because it sounds intimidating, and it's also the single biggest thing you can do to save the tooth. If the person is an older child or adult with all their adult teeth, and the tooth came out cleanly, try to reinsert it into the socket yourself, right there on the sideline or in the parking lot.
Here's the sequence: hold the tooth by the crown, line it up the way it sat in the mouth with the root pointed down into the socket, and push it in firmly with steady pressure, the same direction it would have grown in naturally. It'll usually seat with a bit of resistance and then settle. Once it's in, have the person bite down gently on a piece of clean gauze, a folded napkin, or even a clean handkerchief to hold it in place and control the bleeding.
It will probably hurt, and there will likely be some blood from the socket. That's expected. If direct bleeding from the gum won't slow down after a few minutes of steady bite pressure, our guide on how to stop severe bleeding covers pressure technique in more depth, though most tooth-socket bleeding responds well to biting on gauze alone.
One important exception: never try to reimplant a baby tooth. If the person who lost the tooth is a young kid and it's a primary (baby) tooth, don't push it back in. Reinserting a baby tooth can damage the permanent tooth developing underneath it in the jaw. Rinse it gently, skip reimplantation, and call a pediatric dentist for guidance on next steps.
If You Can't Reinsert It: Milk, Saliva, or a Tooth-Preservation Kit
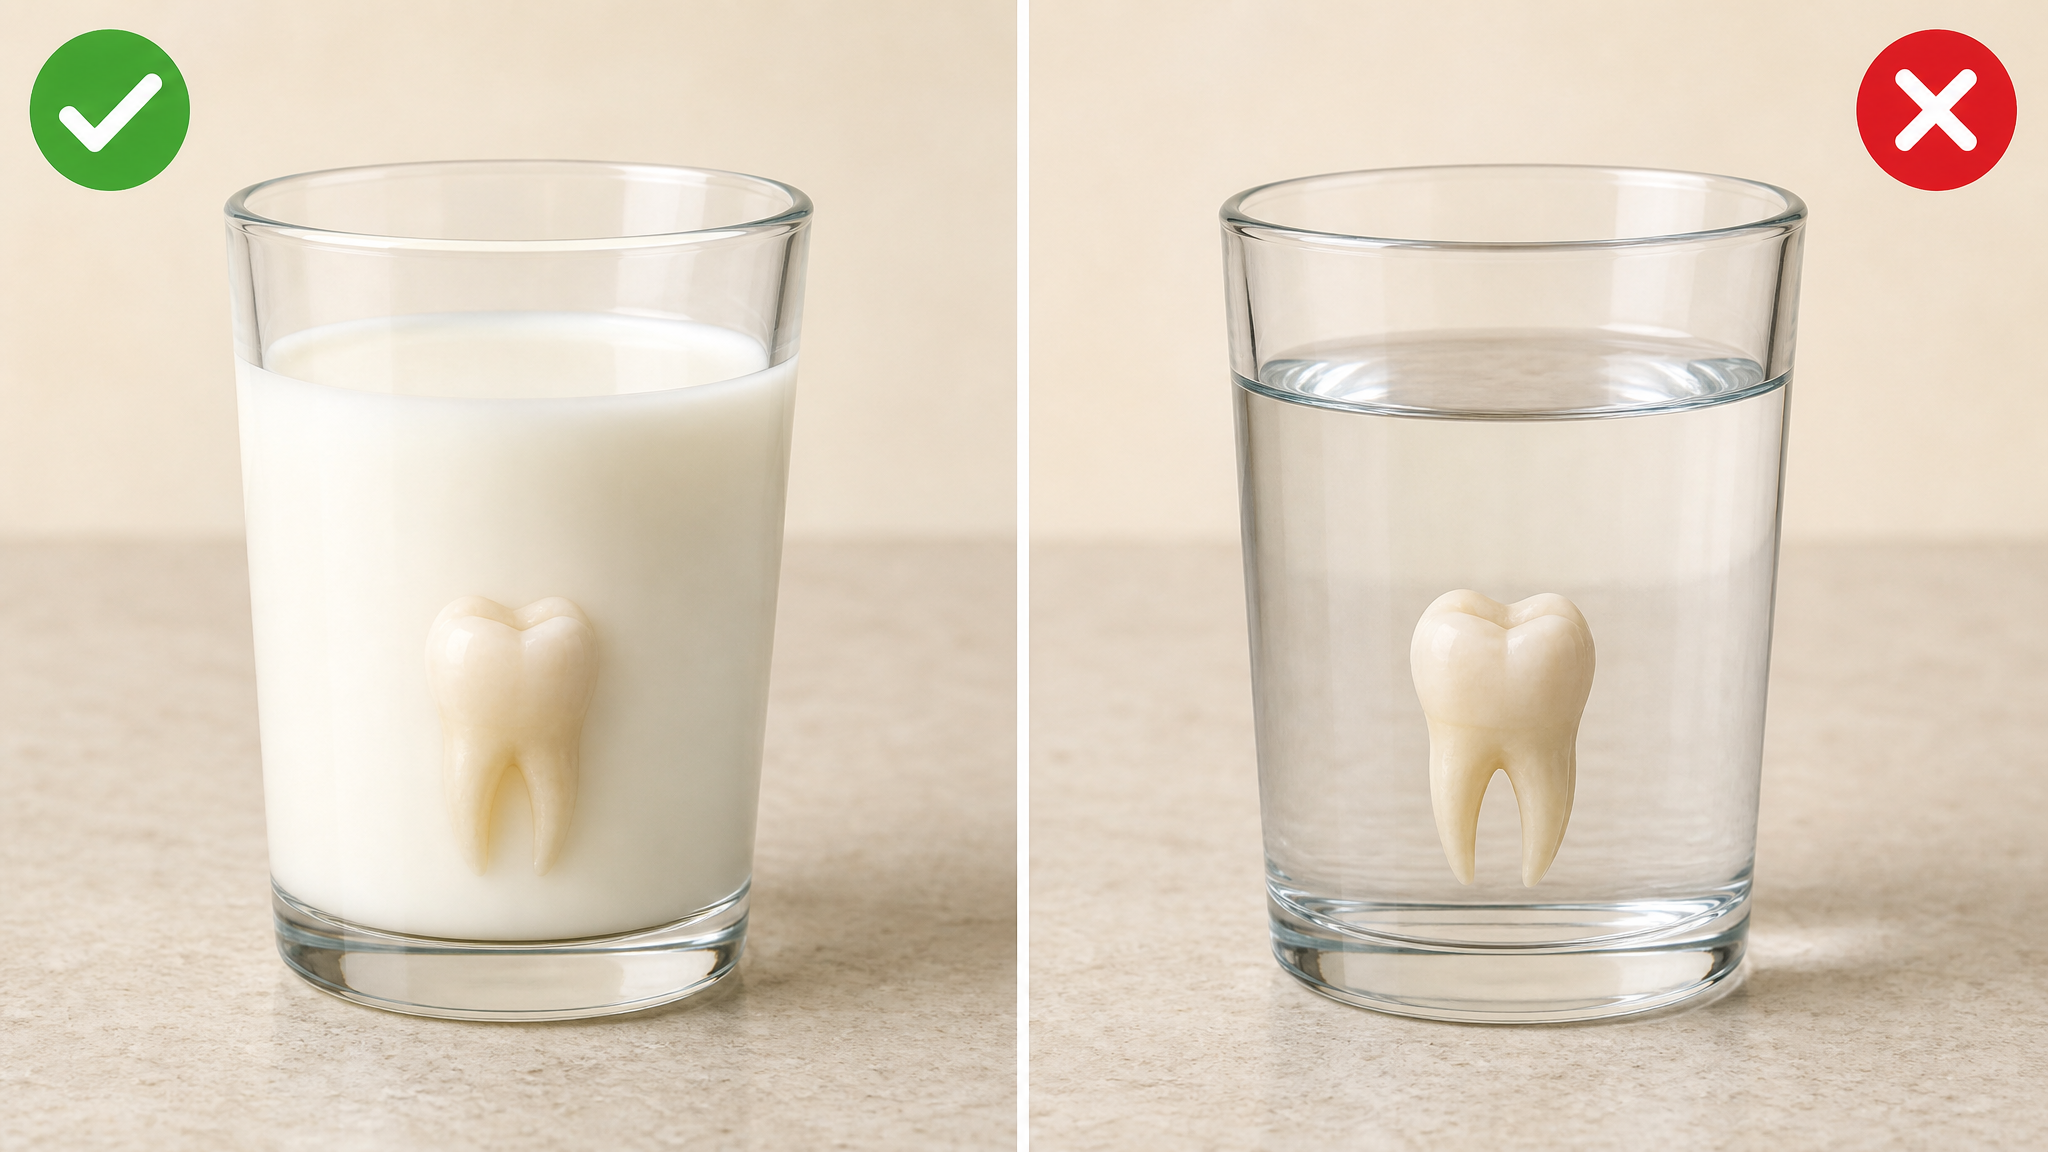
Sometimes reinsertion isn't possible. The socket might be too damaged to hold the tooth, the person might be too frightened or in too much pain to tolerate it, or you might just not feel confident doing it. That's fine. The backup plan still gives the tooth a real chance, as long as you skip one specific mistake: don't store it in plain water.
Water seems like the obvious choice and it's the wrong one. Tap water has a different salt balance than the fluid inside living cells, and that imbalance causes the root's surface cells to swell and rupture within minutes. A tooth sitting in a cup of water for twenty minutes can lose more viable cells than one sitting dry in someone's palm for the same amount of time.
Milk works because its composition is close enough to the fluid those cells are used to that it keeps them alive far longer than water would, a point Mayo Clinic backs up in its own first-aid guidance. Cold milk from a cooler at the game, whole or 2%, either works. If there's no milk around, the next-best option is the inside of the person's own cheek: tuck the tooth between the cheek and gum, where saliva keeps it moist, as long as the person is old enough and alert enough not to accidentally swallow it. A dedicated tooth-preservation kit, sold at most pharmacies and worth keeping in a sports bag, is built for exactly this and works even better than milk.
Whatever you use, don't let the tooth sit dry, even for a couple of minutes while you're deciding. Get it into milk, saliva, or a preservation solution and then figure out the rest.
How Long Can You Save a Knocked-Out Tooth? The Real Window
People often ask how much time they actually have, and the honest answer is that it's a sliding scale, not a hard cutoff. The best outcomes come from reimplantation within 5 to 15 minutes of the injury. Up to 30 minutes still gives good odds, with the American Association of Endodontists citing success rates above 90% in that window. Between 30 minutes and an hour, the odds are still worth pursuing, just lower. Past two hours with the tooth dry, the chances of a successful reimplantation drop sharply, though a dentist may still attempt it depending on the situation.
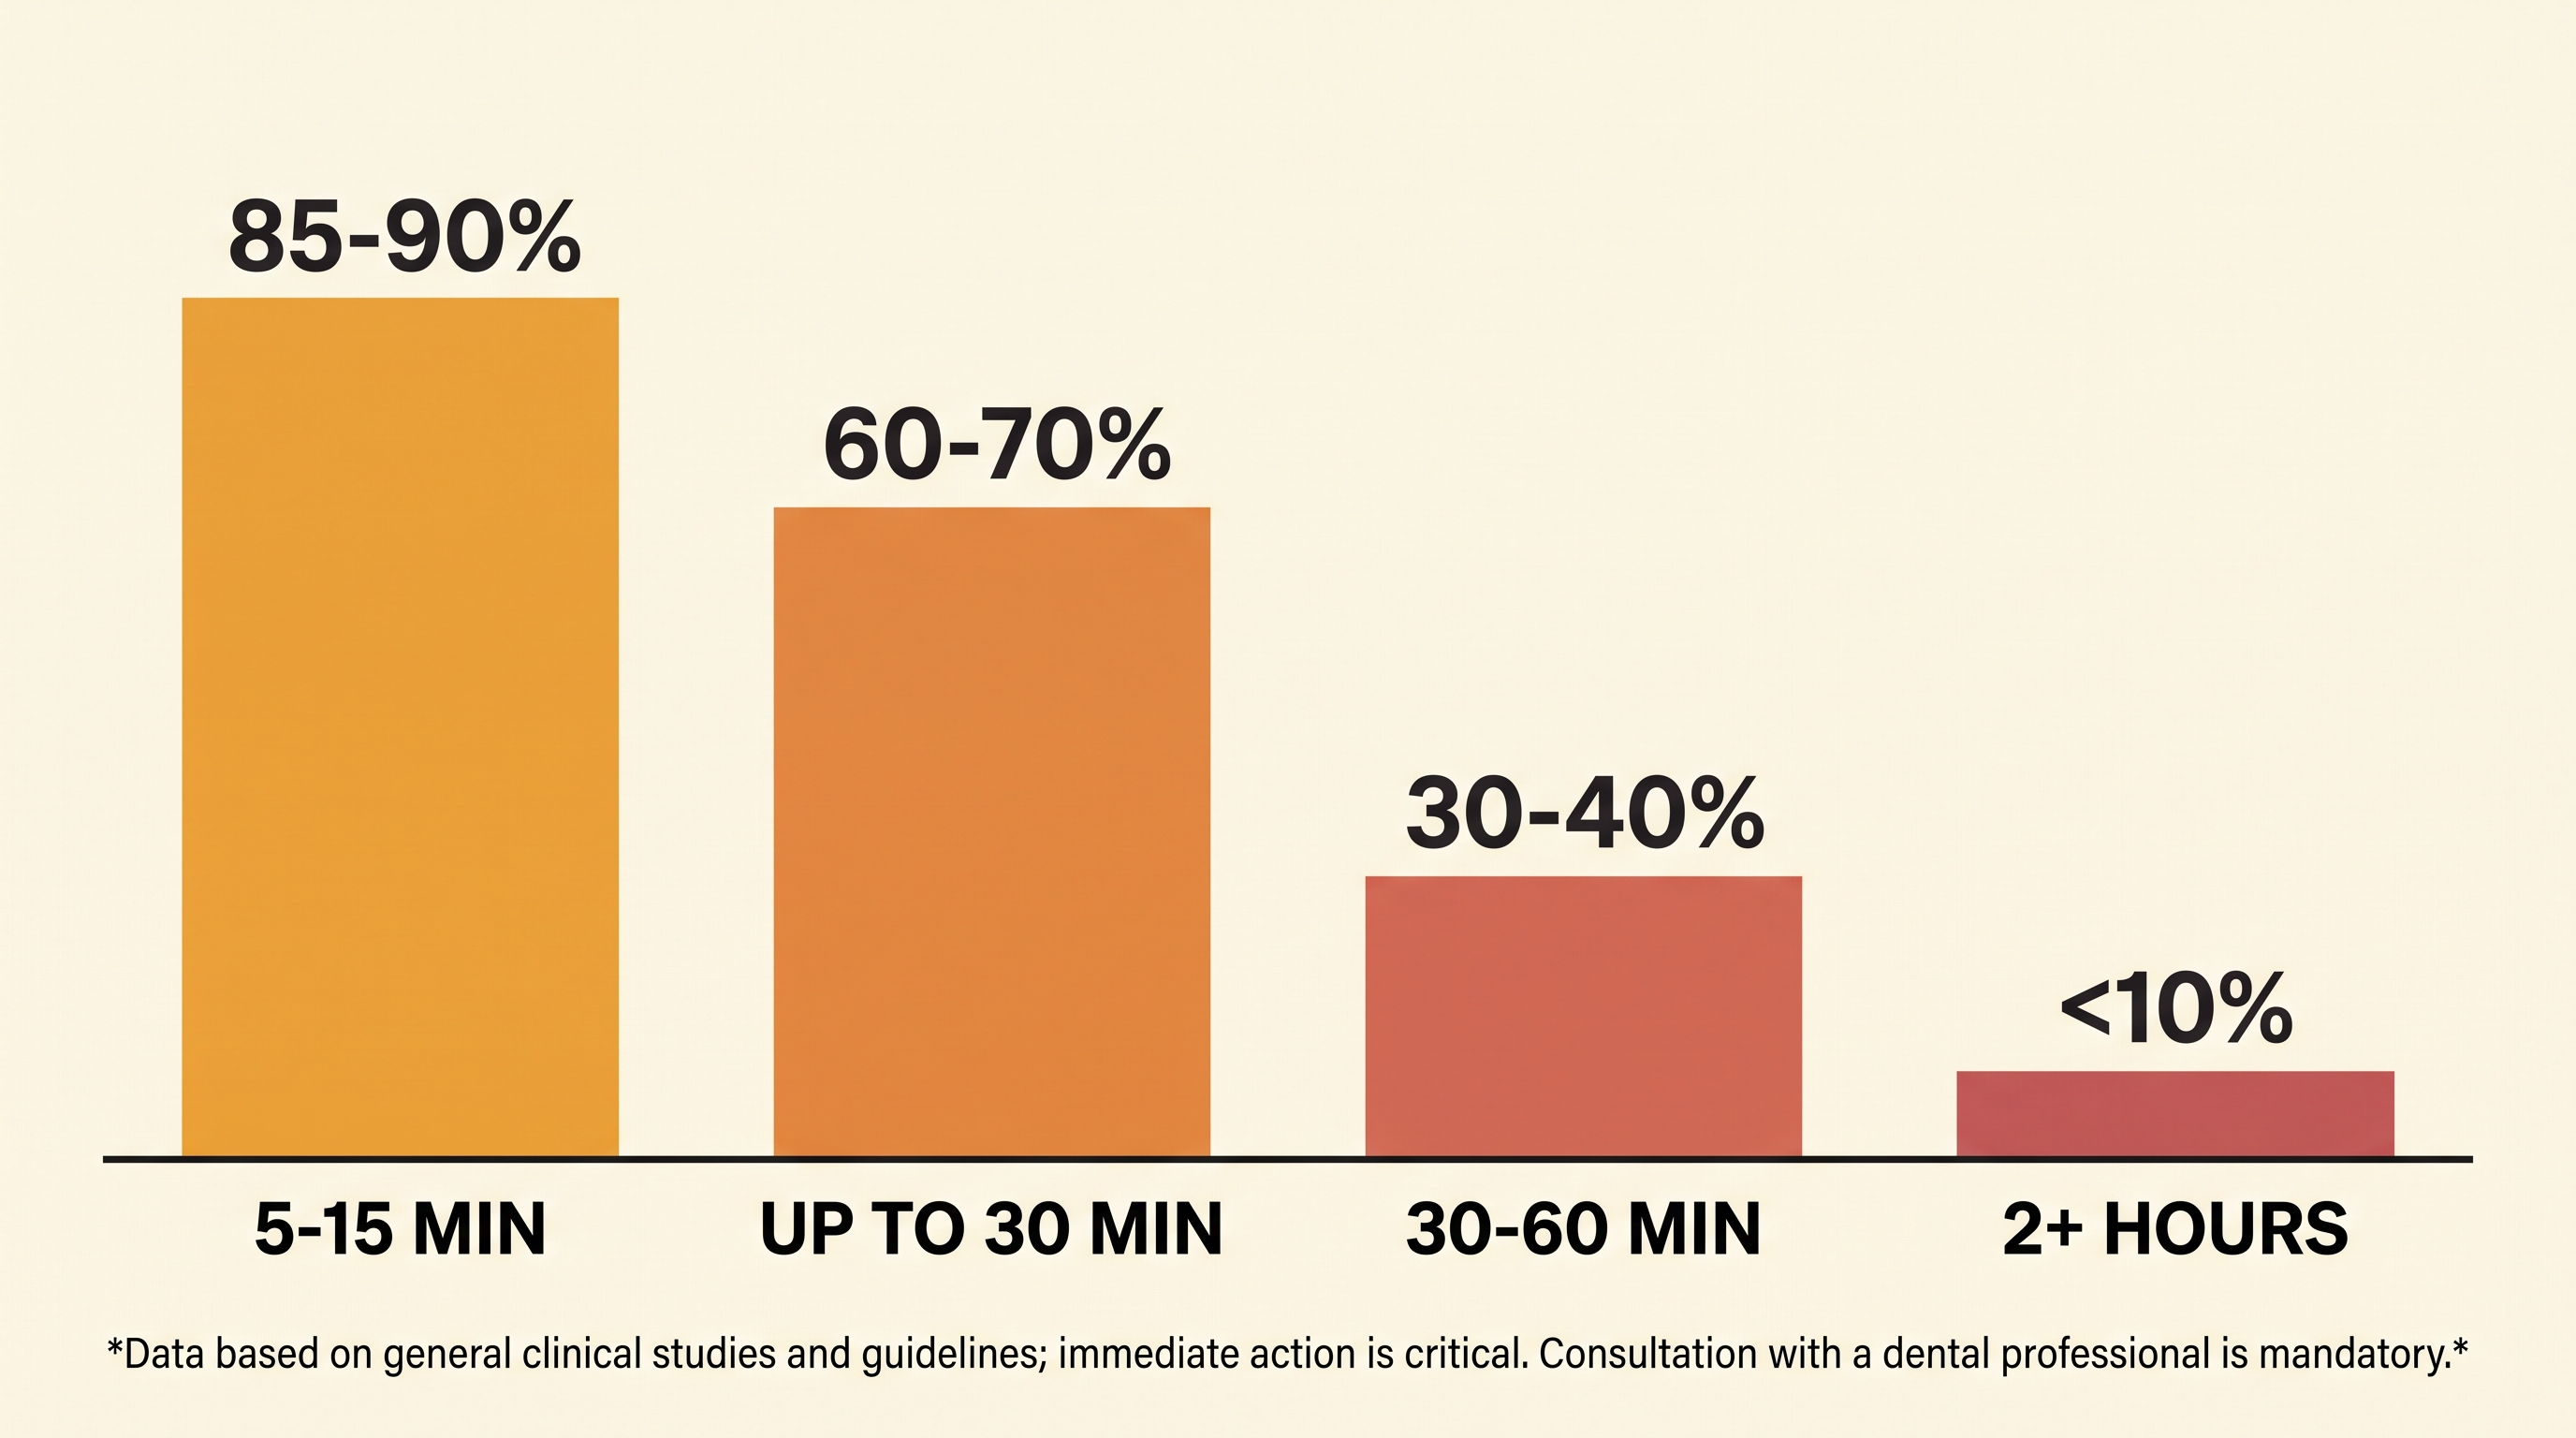
That's the case for acting immediately instead of waiting to see how things look, or finishing the game, or driving home first to grab supplies. The clock starts the second the tooth leaves the socket, not when you decide to deal with it.
This is also why a fast, correct response matters more here than in a lot of other dental situations. A cracked tooth or a chipped one can usually wait for a same-day or next-day appointment without losing much ground. A fully avulsed tooth can't. Every extra ten minutes spent deciding what to do is ten minutes the root surface spends dying.
Getting to a Dentist Fast (and What They'll Do)
Once the tooth is either back in the socket or safely stored, the next move is getting to a dentist or emergency room as fast as reasonably possible. Call ahead if you can. Most dental offices will work someone in immediately for an avulsion, and many areas have an emergency dental line specifically for this. If it's after hours and no dentist is reachable, an ER can stabilize things and refer out.
At the visit, if the tooth is already back in place, the dentist will check the positioning and usually splint it, bonding it lightly to the neighboring teeth so it can't shift while the ligament reattaches. If you brought the tooth in milk or saliva instead, they'll clean it properly and reinsert it themselves before splinting, following the same principles you followed in the field, just with better tools and a controlled setting.
Expect a follow-up schedule after that. Most dentists want to see the tooth again around a month out, then every few months for the first year, checking that it's stabilizing and not developing complications like root resorption or the tooth fusing to the surrounding bone. It's not a one-visit fix even when the reimplantation goes well, but a tooth handled correctly in the first hour has a real shot at lasting for decades.
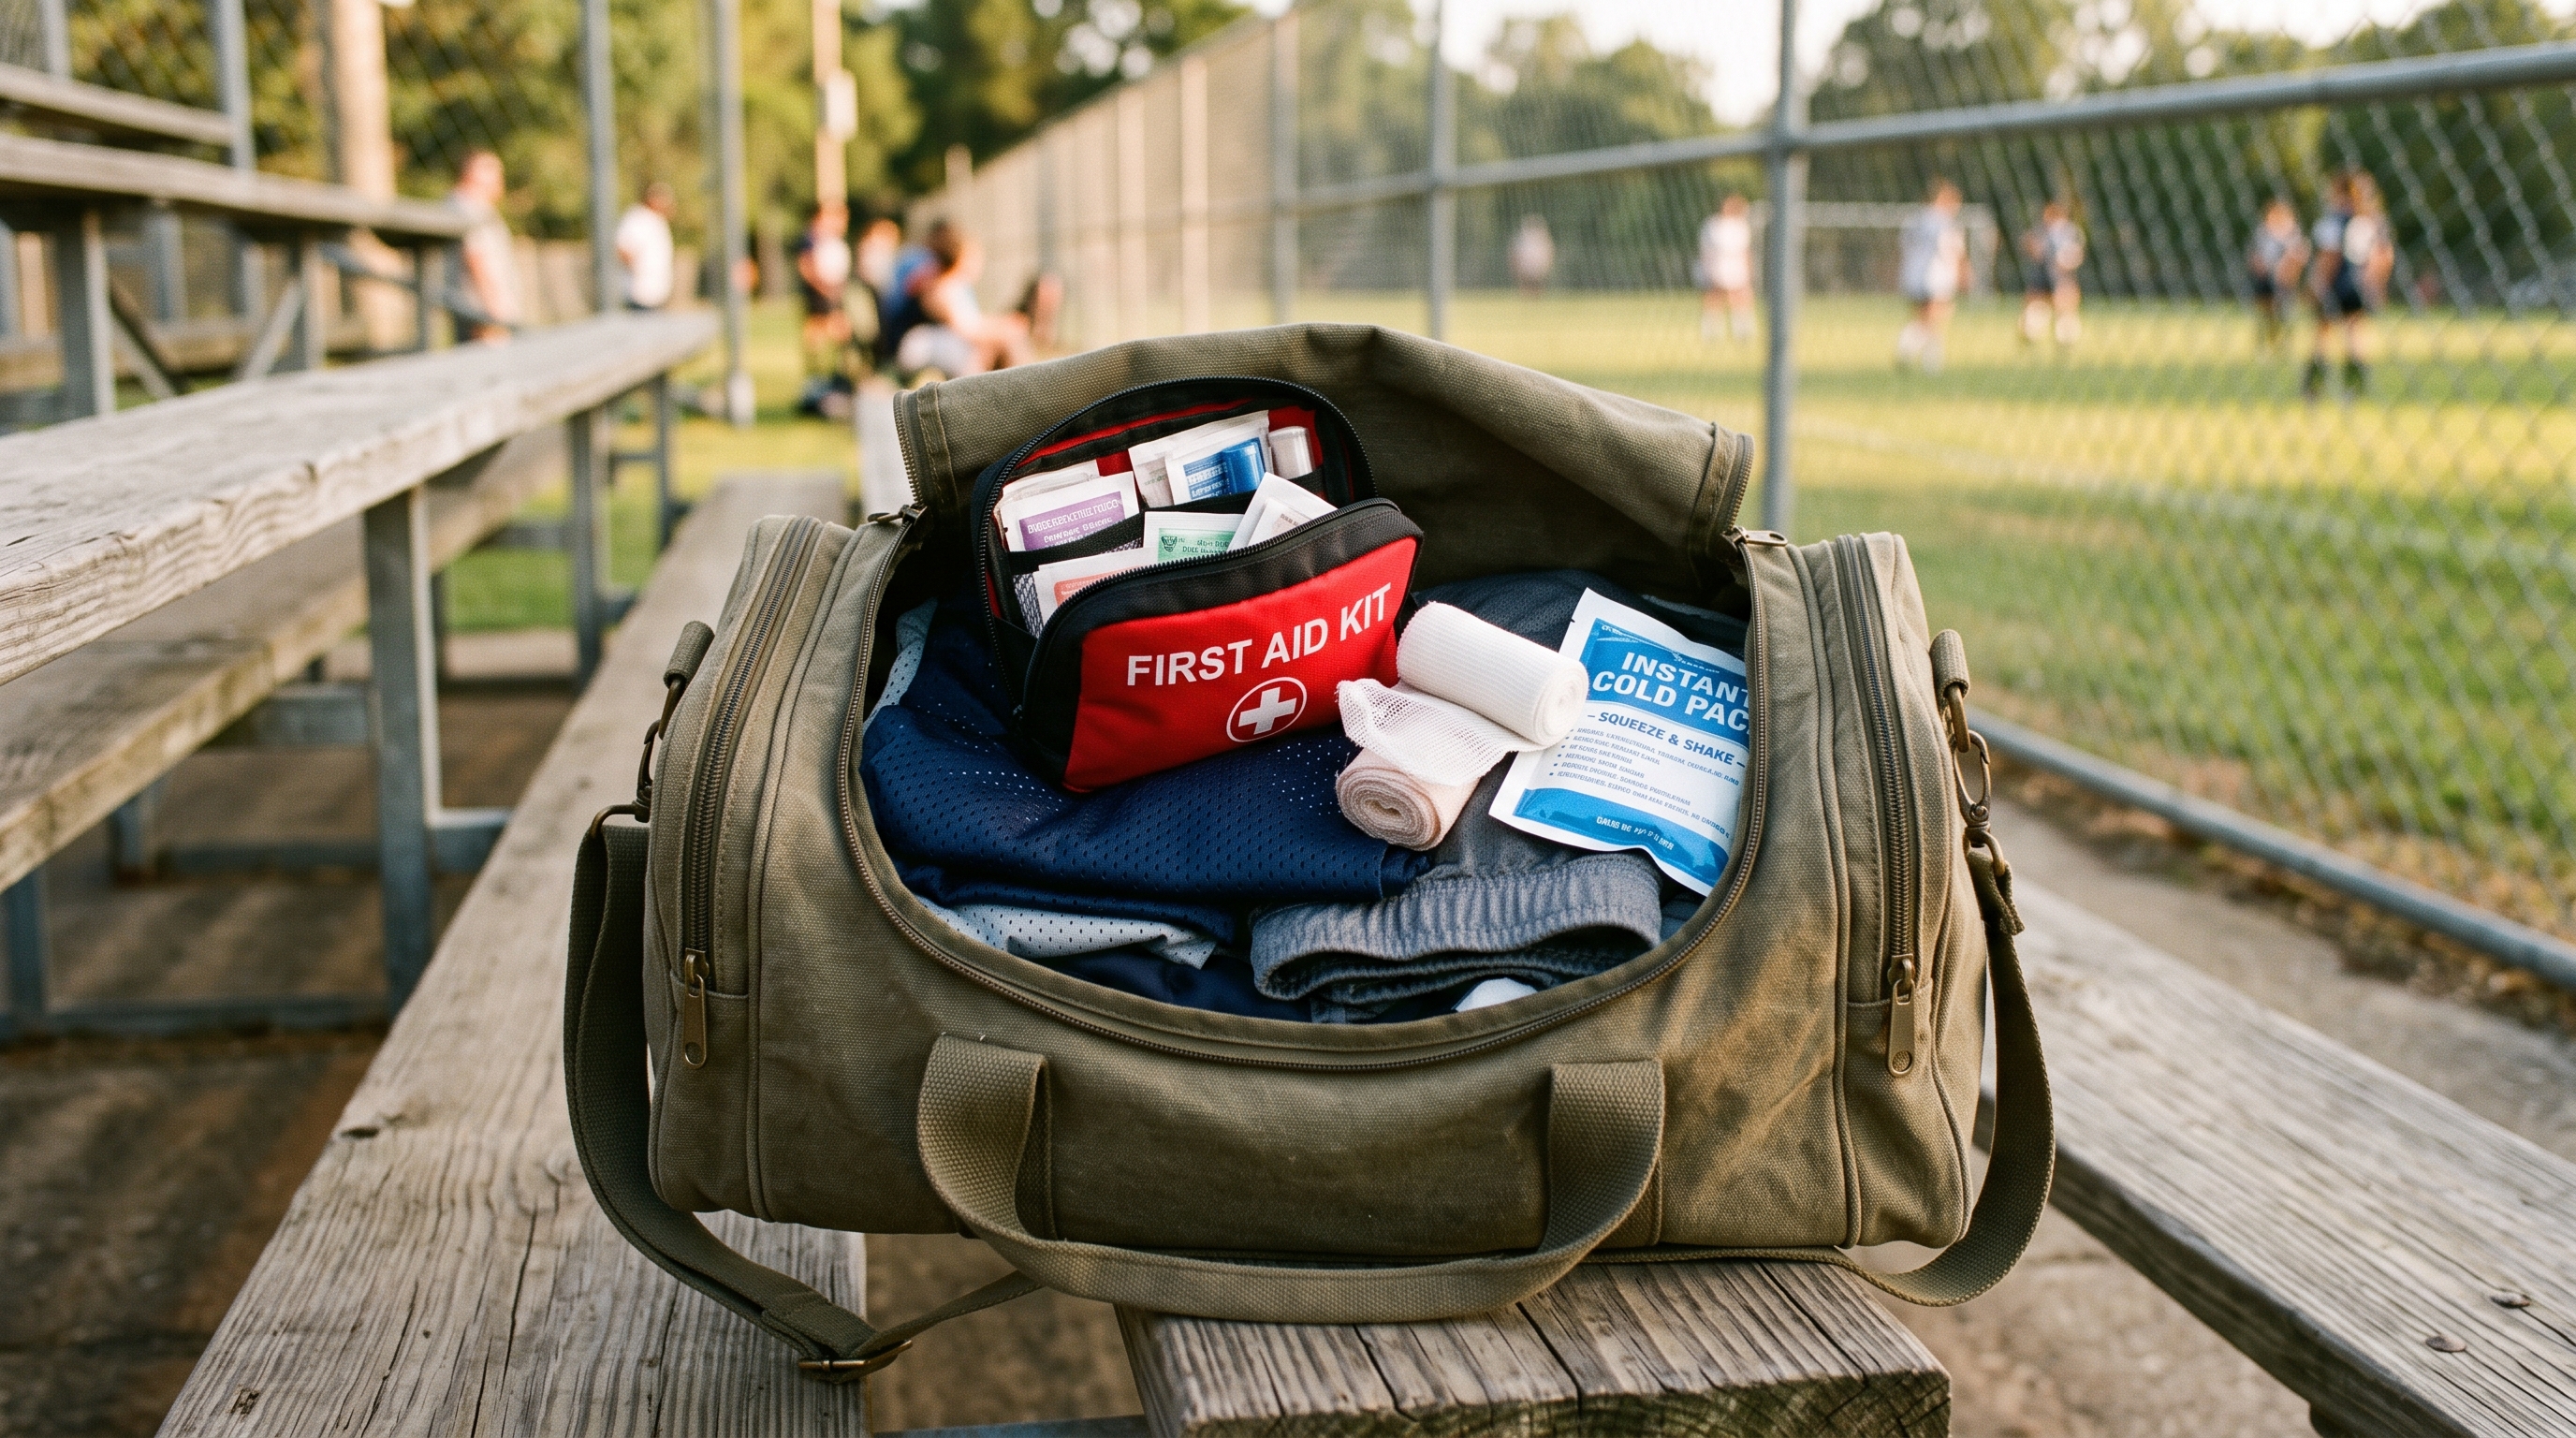
For the sideline itself, worth a mention: a lot of dental trauma in youth sports is genuinely preventable. Mouthguards cut the risk of a dental injury dramatically in contact sports, and plenty of the knocked-out-tooth calls coaches deal with happen to a kid who wasn't wearing one. It's a five-dollar piece of plastic against a problem that can follow someone for the rest of their life.
If the mouth injury came with any blow to the head, it's worth checking for the broader warning signs covered in our concussion warning signs guide, since the two often happen together. And if it's a fracture rather than a full loss, the approach is different; see our guide on how to splint a broken bone for what to do when the injury is a break instead of a knockout.
Most sideline dental emergencies come down to two things: acting in the first few minutes instead of hesitating, and having the right small items on hand, gauze for the bleeding socket, a cold pack for swelling, something to store the tooth in besides tap water. That's the gap the 1stHour Trauma Kit is built to close: 82 pieces packed so you're not digging through a gym bag while someone's holding their own tooth. If your current setup is thinner than it should be, our home first aid kit checklist is a good place to check what's missing.
This content is for informational purposes only and does not constitute medical or dental advice. If a tooth is knocked out, seek immediate care from a dentist or emergency room. In a medical emergency, or if there are signs of a serious head or facial injury, call 911.


