How to Splint a Broken Bone When Help Is Far Away
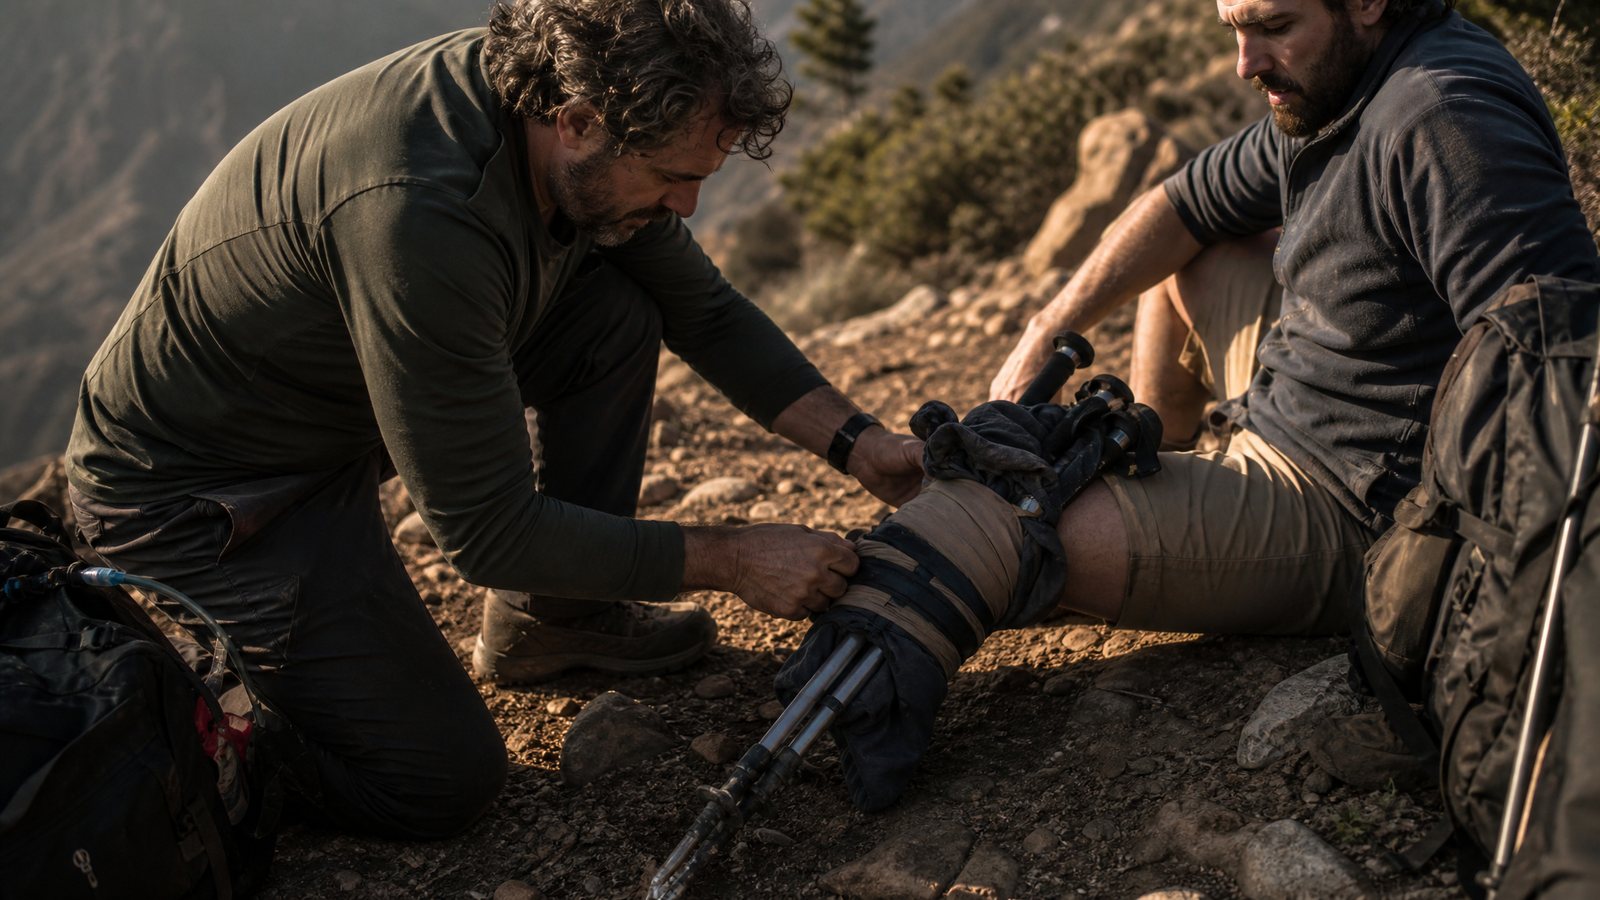
A bad fall on a trail, a hard hit at a Saturday game, a slip off a ladder on a rural property. Sometimes the closest emergency room is forty-five minutes of bad road away, and the ambulance is even further. When a bone breaks and help is not close, your job is not to fix the fracture. It is to keep it still, protect the blood flow past it, and buy time without making things worse. That is what a good splint does. Here is how to build one with the gear you already have, and the handful of mistakes that turn a bad break into a permanent injury.
Is It Actually Broken? How to Tell in the Field
You often can't know for certain without an X-ray, and that is fine. Out in the field, if you think it might be broken, treat it like it is broken. There's no penalty for splinting a bad sprain, but there's a real penalty for walking on a fractured ankle for two miles.
The signs worth watching for: a snap or grinding felt at the moment of injury, fast swelling, obvious deformity or a limb bent at a wrong angle, and pain that spikes when weight or pressure goes on it. A limb that won't bear any weight at all leans toward a fracture. So does a spot that is tender over bone rather than over soft tissue.
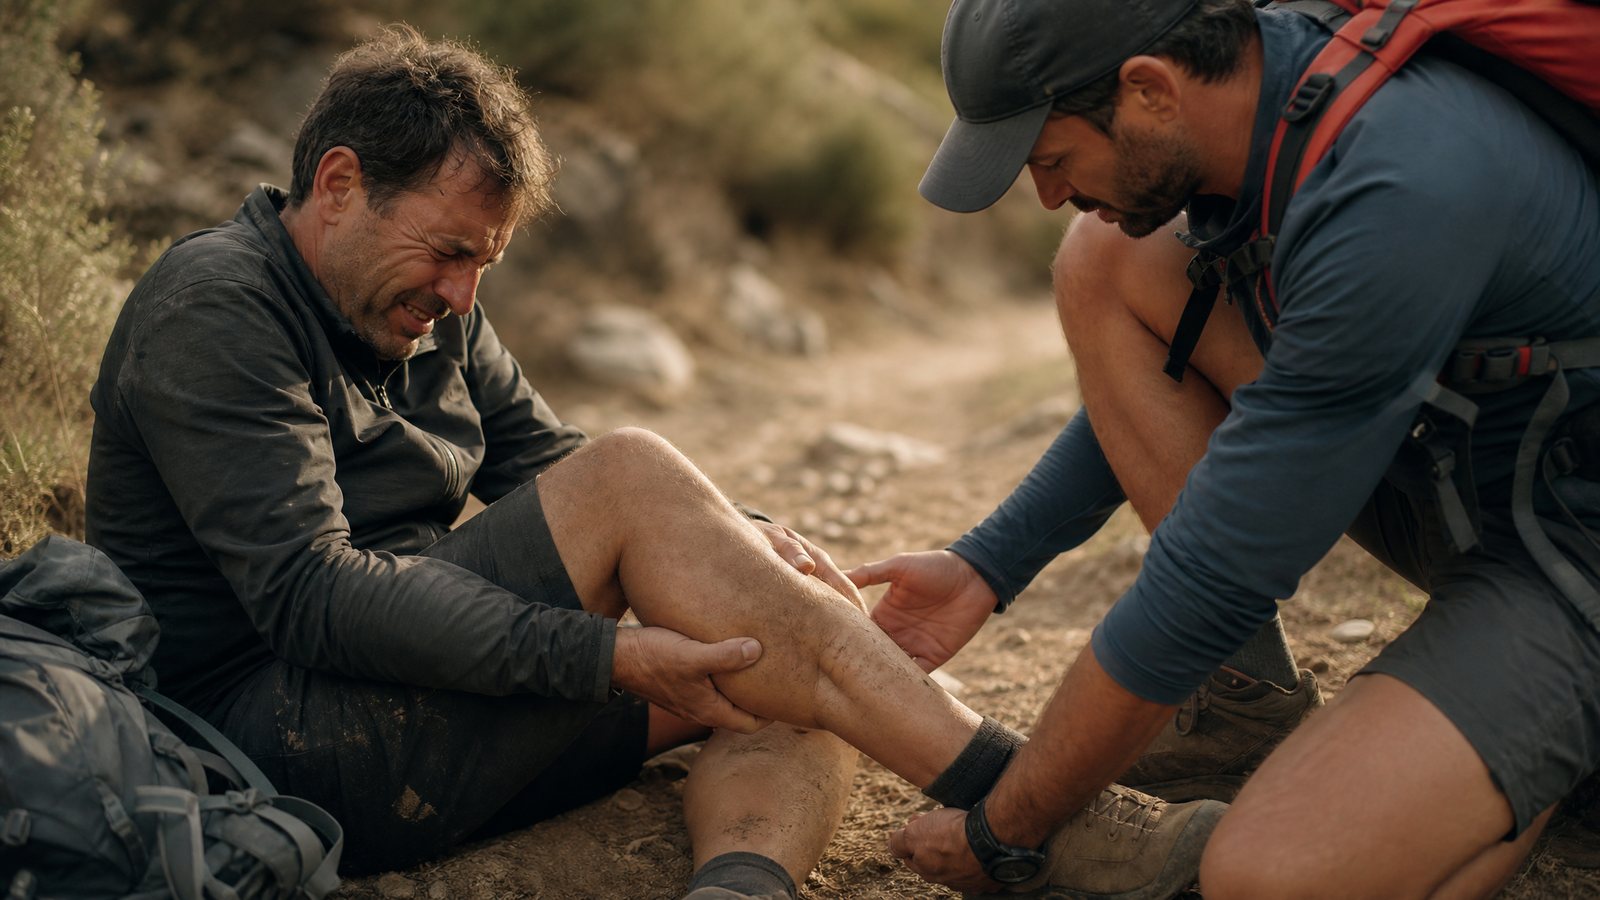
If you see bone through the skin, or the limb is clearly crooked, you're done guessing. Treat it as broken and read the open-fracture section below before you touch anything.
Before You Touch It: Check Circulation, Sensation, and Movement
This is the step people skip, and it matters more than the splint itself. Before you immobilize anything, check what medics call CSM: circulation, sensation, and movement, in the part of the limb past the injury.
Circulation: press a fingernail or toenail past the break until it turns white, then let go. Color should return in about two seconds. The skin there should be warm and normal-colored, not pale or blue. Sensation: touch a finger or toe and ask if they feel it. Movement: ask them to wiggle the digits, gently.
Note what you find. You're going to check all three again after the splint is on, and every fifteen minutes after that. If circulation was fine before and goes bad after, your splint is too tight and you need to loosen it now. That comparison is the whole reason you check first.
How to Build an Improvised Splint, Step by Step
You rarely have a real splint. You almost always have the parts for one. A splint is three things: something rigid, something soft for padding, and something to tie it all in place.
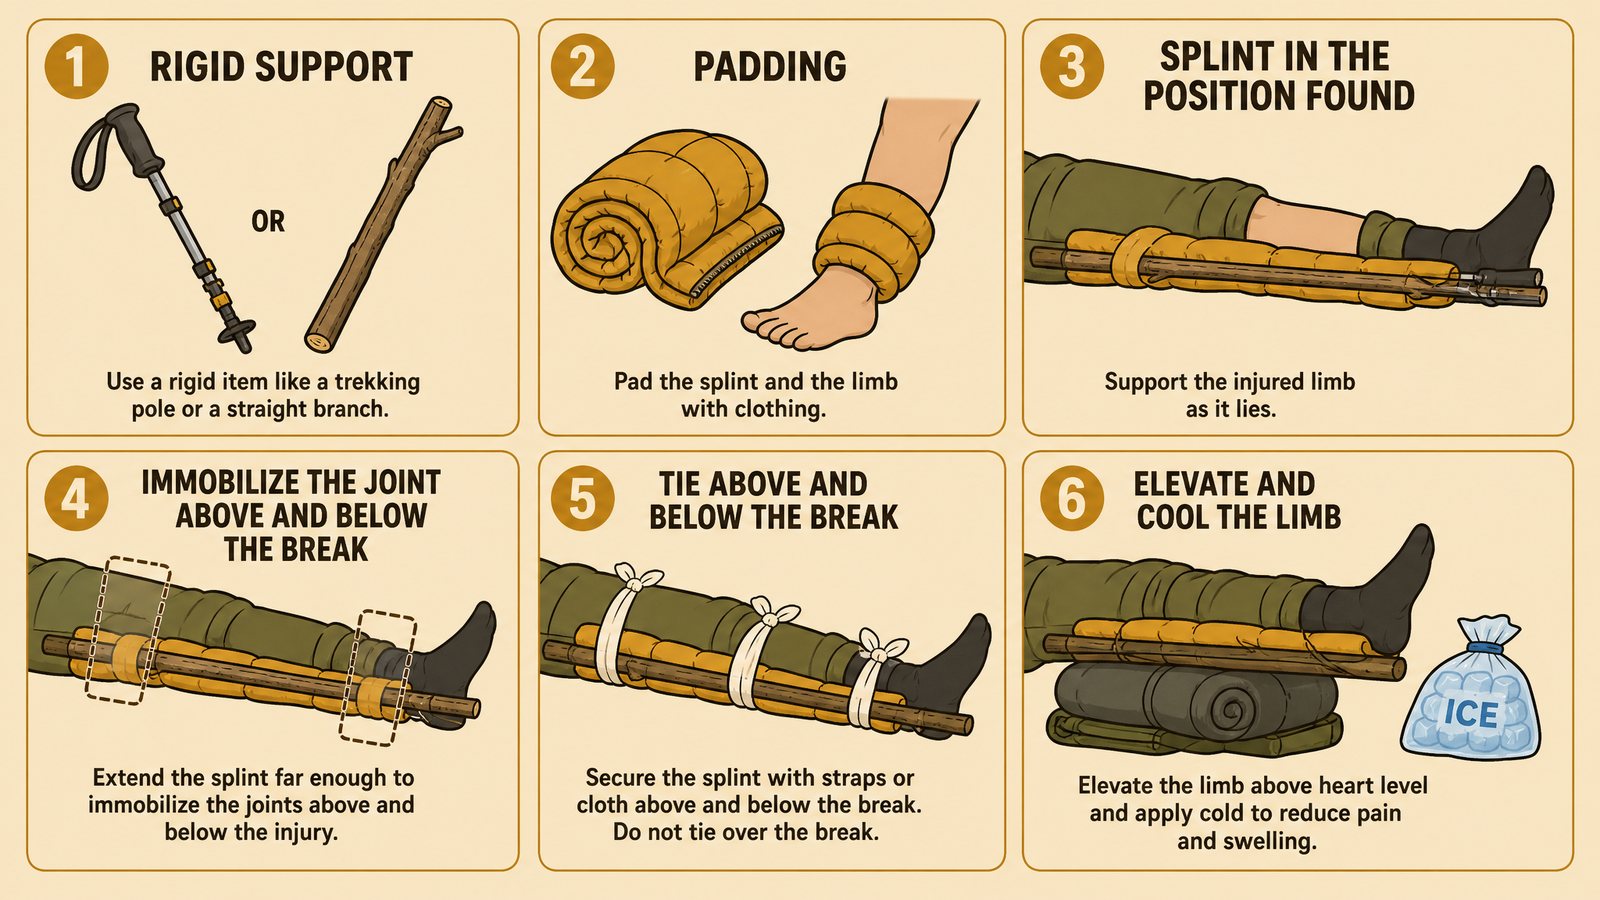
- Find your rigid support. Trekking poles, a straight branch about a half-inch thick, a tent pole, a rolled-up magazine or newspaper, a canoe paddle, even a sturdy stick. It needs to span the joint above and the joint below the break.
- Pad it. Put clothing, a rolled towel, foam, or a jacket between the rigid support and the skin. Padding fills the natural hollows around a limb and keeps hard edges from cutting off blood flow.
- Splint it in the position you found it. Do not try to straighten the limb or push a bent break back into line. Support it the way it lies. Forcing alignment can tear vessels and nerves.
- Immobilize the joint above and below. If the lower leg is broken, the splint has to hold both the knee and the ankle still. A break that lets the nearby joints move is not splinted.
- Tie it in place. Backpack straps, an Ace bandage, paracord, bandanas, a triangle bandage, boot laces, or tape all work. Secure above and below the break, never directly over it. Snug, not crushing.
- Elevate and cool it if you can. Raising the limb and putting a cold pack, snow, or a cloth soaked in cold water against it slows the swelling. This is the RICE idea: rest, ice, compression, elevation. Keep the "compression" gentle.
How Tight Is Too Tight
A splint that cuts off blood flow does more damage than no splint at all. The pressure builds as the limb swells, so a wrap that felt right when you tied it can be too tight twenty minutes later.
Re-check CSM every fifteen minutes. If the fingers or toes past the injury turn pale or blue, go cold, tingle, or go numb, or if the person says the tightness is getting worse, loosen the ties completely and re-wrap looser. You'd rather re-do it five times than let the limb go without blood for an hour. When in doubt, a splint should feel firm and supportive, not like a tourniquet. If you're not sure what a real bleeding-control tourniquet looks like by comparison, our guide on civilian tourniquet use spells out the difference.
Splinting a Broken Arm vs. a Broken Leg
The principle is the same, but the setup differs.
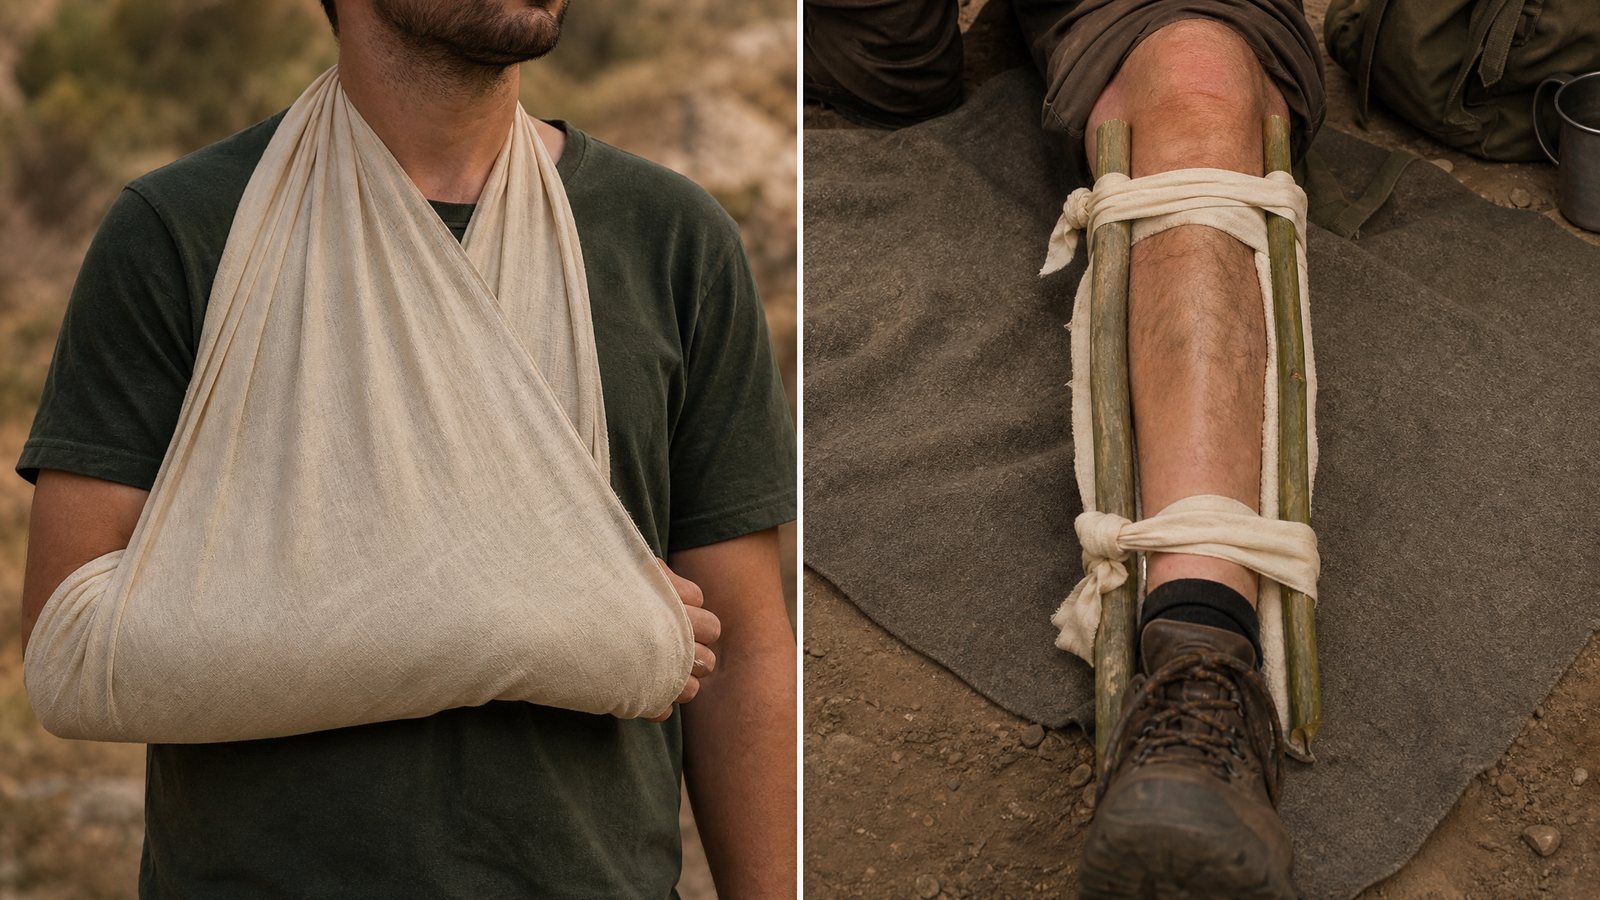
A broken arm or wrist gets rigid support along the forearm, then goes into a sling so the weight comes off it. Bend the elbow to about ninety degrees if that doesn't cause sharp pain, support the forearm across the body, and tie a sling from a triangle bandage, a shirt, or a jacket. Then bind the whole arm gently against the torso so it can't swing.
A broken leg or ankle needs more rigid support and can't be carried in a sling. Splint it straight if it's already straight, immobilizing the joints on both sides of the break. For a lower leg, you can also splint the injured leg to the good leg using padding between them as a last resort. Keep weight off it entirely. Improvise a crutch from a strong forked branch or a pole so the person never loads the injured side.
Open Fractures and When NOT to Move Someone
If bone is through the skin, do not push it back in and do not scrub the wound. Cover it with the cleanest dressing you have, control any heavy bleeding with direct pressure around the wound, then splint around it without pressing on the bone. Open fractures carry a serious infection risk and need a hospital, not a field fix. For the bleeding-control side of this, see how to stop severe bleeding.
There are times not to move a person at all. If you suspect a neck or spine injury, a broken pelvis, or a broken thigh bone (a femur fracture can cause dangerous internal bleeding), keep them still and get professional rescue to you rather than dragging them out. Move someone with a suspected spinal injury only if staying put is more dangerous than moving, like an active fire or rising water.
When the First Hour Is Up: Getting Them Out
Once the limb is stable, the decision is simple to state and hard to make: wait for rescue, or self-evacuate. Call 911 or your local emergency line if the injury is severe, if it's an open fracture, if circulation is compromised, if you suspect a spine, pelvis, or femur break, or if the person can't move safely on their own. In the backcountry, that may mean a satellite messenger or hiking out to signal.
If you're going to move under your own power, go slow, keep checking CSM, keep the limb supported the entire way, and stop the moment circulation looks off. A calm, deliberate exit beats a fast, sloppy one. The splint bought you time. Use it well. Our guides on what to do if you get lost hiking and building an emergency shelter with no gear pair well with this one if the exit turns into a longer wait.
A splint is only as fast as the supplies within reach. The 1stHour Trauma Kit keeps the padding, wrap, and bleeding-control basics in one grab-and-go place, so when someone goes down an hour from the nearest hospital, you're building the splint instead of hunting for parts. See what's inside The 1stHour Trauma Kit and keep it where the fall is likely to happen: the trunk, the trailhead pack, the garage.
This content is for informational purposes only and does not constitute medical advice. Seek professional medical attention for any suspected fracture. It is not a substitute for hands-on first-aid training.


